Why We Love This Tutorial:
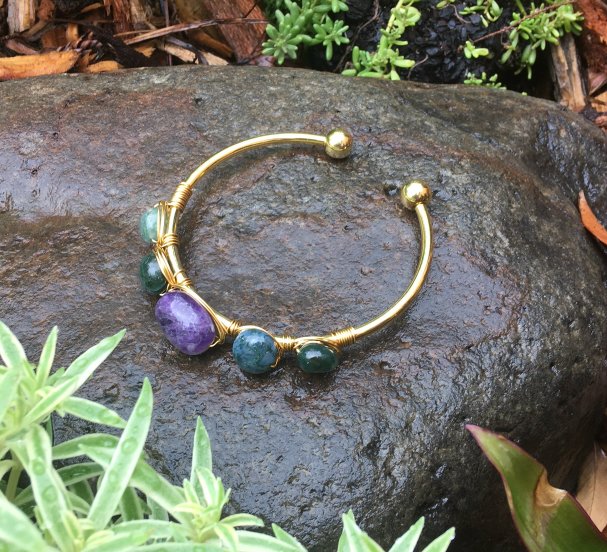
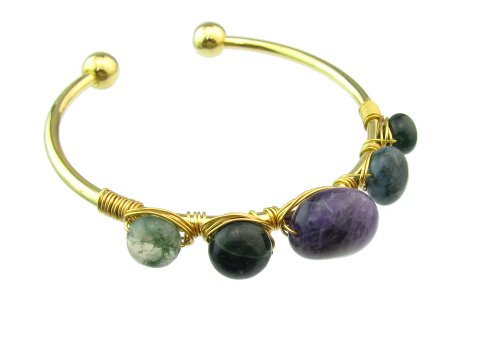
Fast but fancy… that just about sums up why we love this tutorial so much! This cuff/bangle only takes about 15 minutes to make after you have selected your beads. What’s more, you can use almost any beads you like with this design… we’ve used some cute little moss agate nuggets and an Amethyst nugget. But, rounds or rondelles also work well (particularly the smaller sized 4mm – 8mm). I have a bit of a preference towards flatter beads, as I think it gives a more streamlined look. So ovals and rectangles also work really well. But, hey, if you love the chunky look you could wire almost anything on there!!
Beads and Materials You’ll Need:
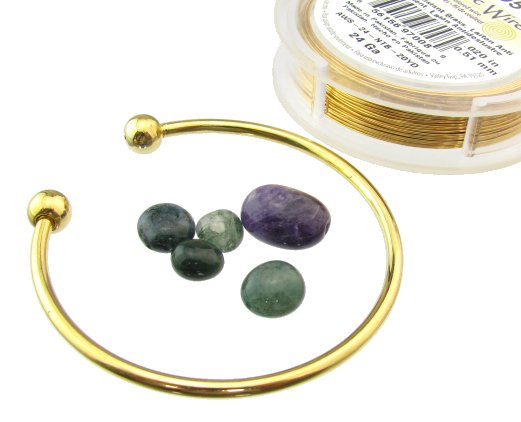
- Mixture of beads (we’ve used Moss Agate 10mm nuggets and Amethyst 14mm nuggets)
- Cuff Base (in gold or silver)
- 24 gauge Artistic Wire
Tools You’ll Need:
Method:
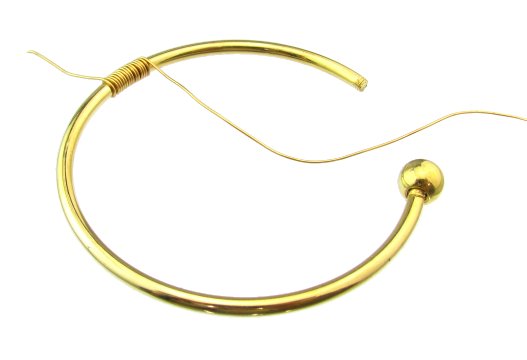
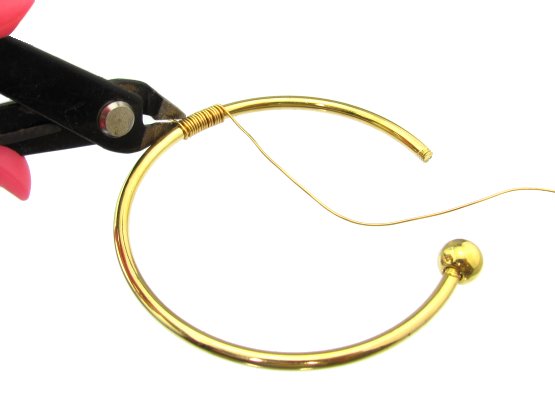
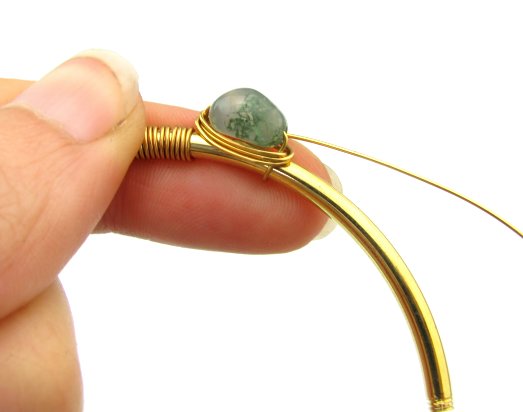
Step 1. Screw the ball end off the cuff to start – this is not necessary but I find it much easier to wrap the wire around if the ball is off! Cut about one meter of 24 gauge wire and wrap it around the cuff about 10 or 15 times (depending on the look you would like). You can trim the little tail now using flush cutters, or wait for later to tidy up.
Step 2. Slide your first bead onto the wire, and wrap once around the cuff.

Step 3. Now take the wire and wrap around the base of the bead. The number of wraps will vary depending on the look you want, and also the size of the bead. In this design, we’ve wrapped three times around the bead.
Step 4. Now bring the wire back down and wrap 3 times around the cuff. Again, you can do more or less wraps if you want a more spread out or compact design.
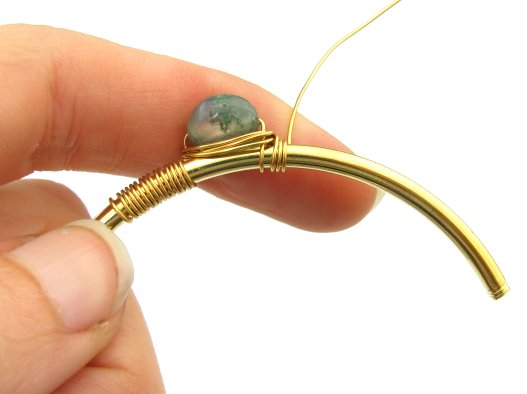
Step 5. Repeat this process to add more beads. Some beads, like the center Amethyst bead, may require a few more wraps around the bead.
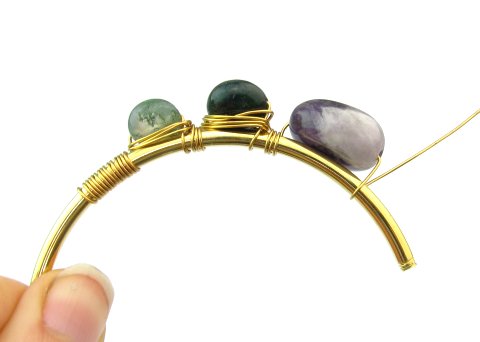
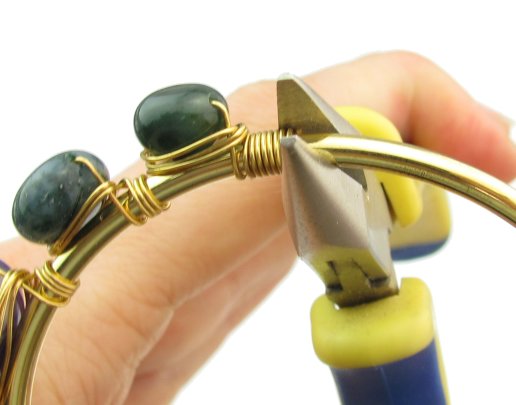
Step 6. Once you have added all your beads, finish by simply wrapping around the cuff 10 to 15 times as you did when you started. In this case, I ran out of wire so I had to do slightly less wraps. This is no problem – simply go back to the original wraps and unwrap a few and trim 😉
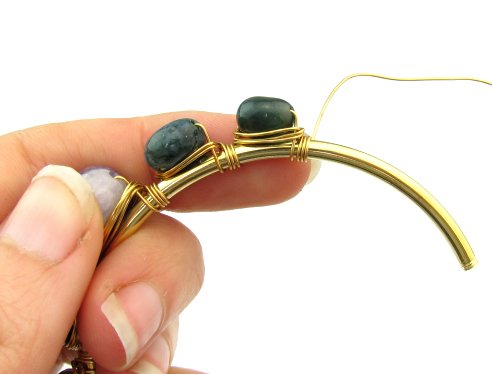
Step 7. After trimming, it is a good idea to use your flat nose pliers to push down the tiny little tail of wire than may be poking out.
Step 8. You may have noticed we were working towards one end of the cuff (simply because it is easier to wrap towards the edge than in the middle!). So at this point you’ll need to move the wired section to the dead center of the cuff. Screw the end bead back onto the cuff and you’re done!
Here’s a couple of designs we made in silver using just Moss agate…