Why We Love This Tutorial:
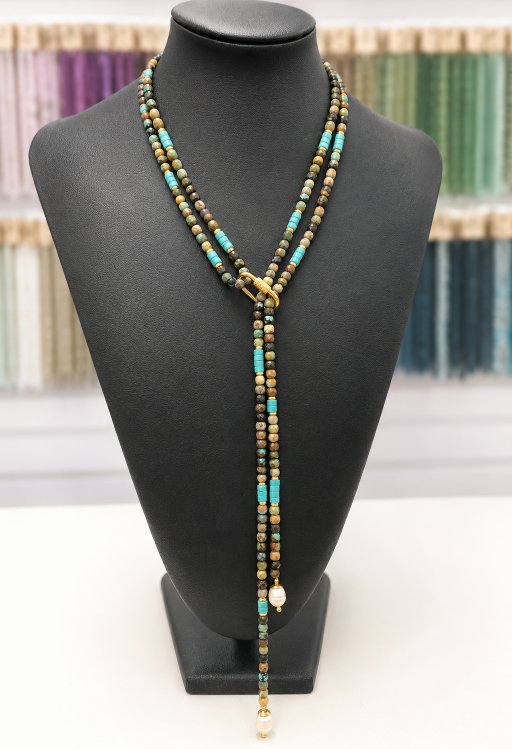
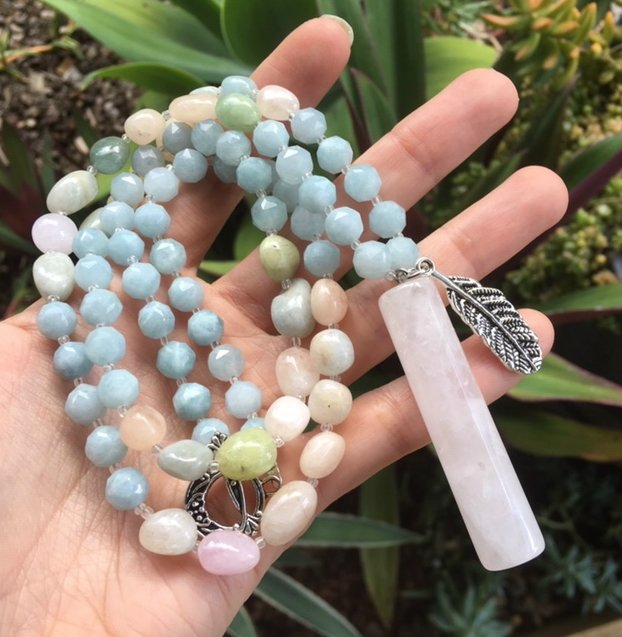
We just love of drape-y this scarf style lariat necklace is! The small faceted gemstone cubes and the gemstones wheels compliment each other so nicely; plus we have used a thread instead of tigertail to make sure it sits softly & drapes the way we want it to!
Beads and Materials You’ll Need (product name is clickable):
- 4mm or 4.5mm Faceted Gemstone Cubes (we’ve used three strands of natural Turquoise)
- 4mm Gemstone Wheels (we’ve used one strand of Turquoise Magnesite)
- White Ringed rice freshwater pearls
- 0.35mm waxed polyester thread
- 2x 6mm tarnish resistant 18k gold plated bead caps
- 4x 2mm tarnish resistant 18k gold plated round spacer beads
- approx 40pcs (1 packet) 4mm tarnish resistant gold plated wheel beads
- medium gold plated carabiner
Tools You’ll Need:
- Scissors (for cutting polyester).
- Hypo Cement Glue
Method:
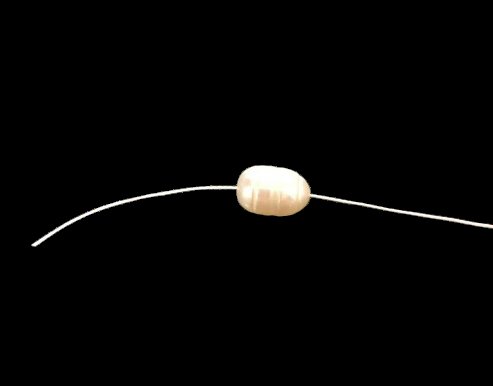
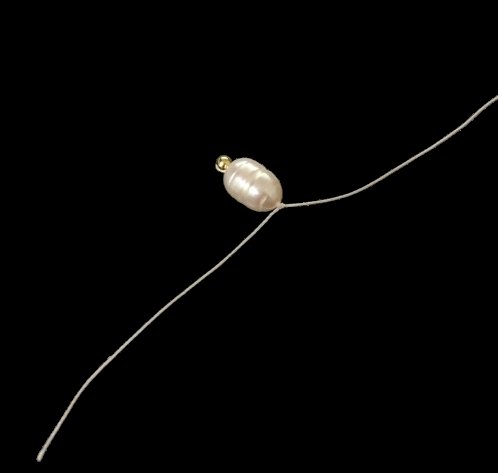
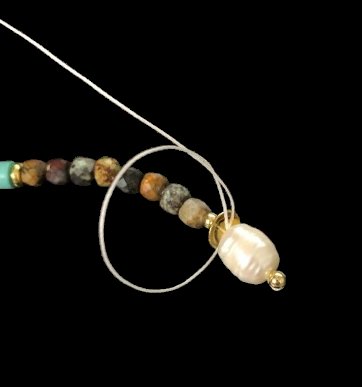
- This is quite a short lariat necklace, at about 60cm (two strands). But you can make yours longer is you like! We have used fine 0.35mm white waxed polyester for this necklace, which means we need to finish it off slightly differently compared to using tigertail and crimps. Take approx. 150cm of thread, and thread on your pearl.
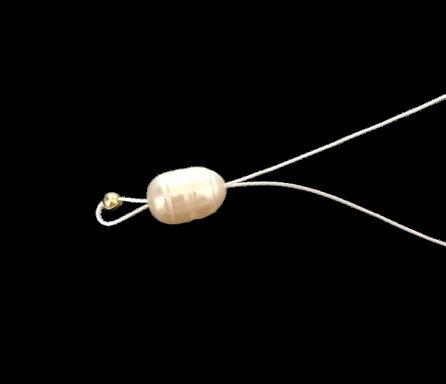
- Next thread on a 2mm gold bead and loop the cord around this gold bead and back up through the pearl.
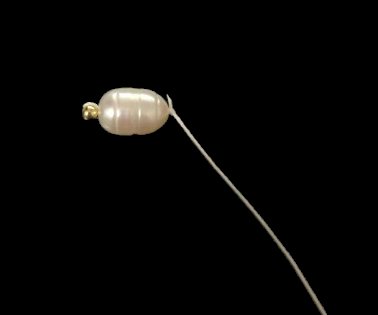
- Tie a knot above the pearl.
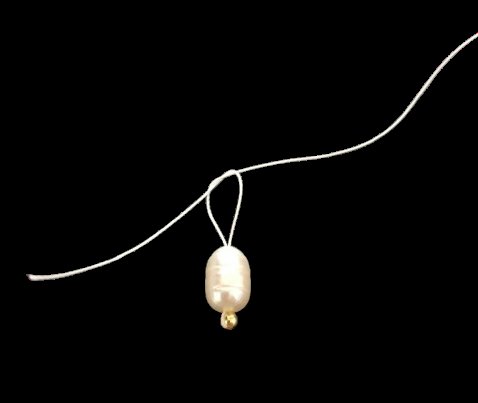
- Pull the knot tight. Then tie a second knot, this time the reverse of the knot you just tied. This effectively creates a string reef knot.
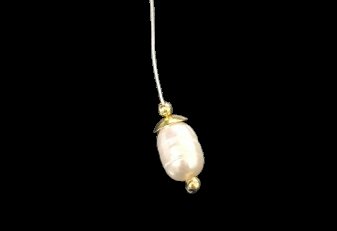
- Trim the tail and use a little drop of hypo cement glue on the knot.
- Then, slide on your bead cap followed by another 2mm round gold bead.
- Now you’re ready to thread your beads! We have gone for a random sequence, with the cubes grouped together and the wheels grouped together. We have used more cubes than wheels, with the wheels usually only containing two to four beads per section. Refer to the finished photo.
- After you have threaded on all of your beads (it should be about 120cm long), you will need to finish it off in a similar way to how we started it. However this time we need to work in reverse.
- Thread on your 2mm gold bead, cap, pearl then another 2mm gold bead. Take the cord around the 2mm gold bead and back up through the pearl.
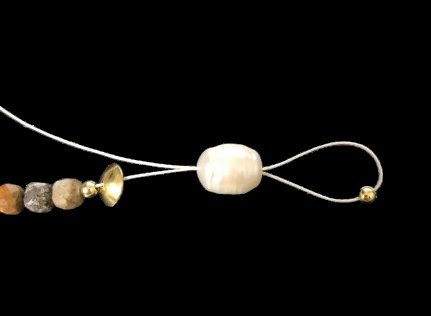
- Now you will need to tie an overhand knot to secure the end of the necklace.
- Do two overhead knots; using fine round nose pliers to push the knot closed is helpful.

- Put a dab of glue on this knot, all let it fully dry over night before trimming (this knot by nature is not as secure as our previous reef knot, so you really want the glue to be set before trimming it off).

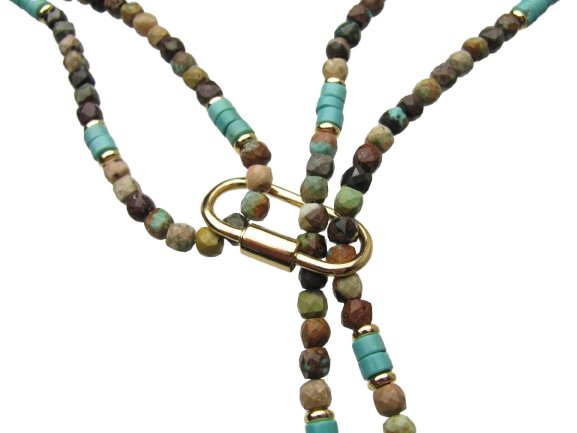
- Slide the carabiner half way along the necklace and loop it. Pop it around your neck, then take the two tail ends (with the pearls) and slide them through the carabiner. It is simply held in place by gravity, which is why this is sometimes called a scarf style necklace.
- And that’s it, you’re done!