Why We Love This Tutorial:
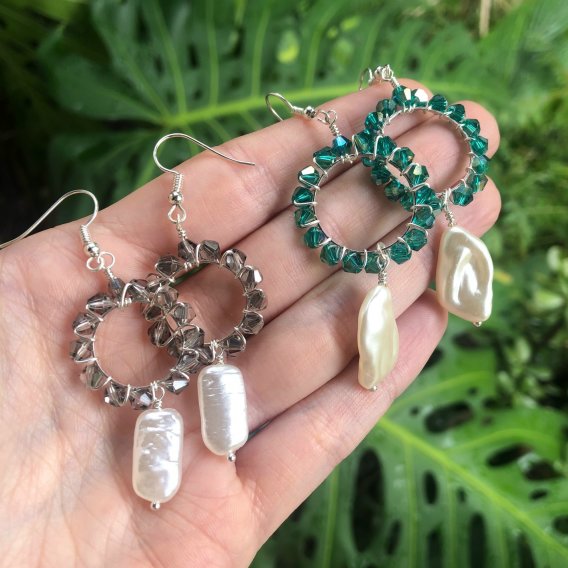
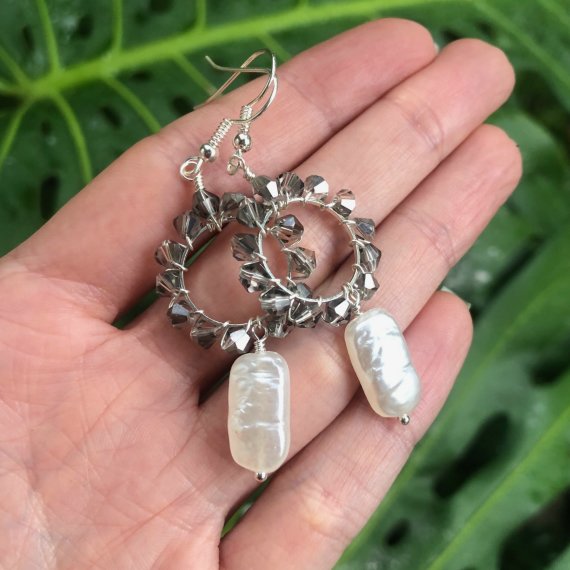
All the bling without the price tag! We’ve used some of out fabulous new faux pearl beads in these earrings, as well as some sparkly crystal bicone beads. They’re costume jewellery at their best! Of course you could use this design but with gemstones and real pearls, but I’m loving this look for less (cost of living anyone?!).
Beads and Materials You’ll Need:
- 4mm Crystal Bicones (we’ve used Antique Grey 4mm Crystal Bicone Beads)
- Faux Pearls (we’ve used these White Rectangle Faux Pearls 16mm)
- Linking Rings (we’ve used 16mm Linking Rings)
- Headpins (we’ve used ballpins. Please note that some of the pearls have a slightly bigger hole and you may need to use a small spacer to stop the bead falling off the pin. In this design, we simply went through our pins & beads and found some that the bead did not fall off. However you might like to consider getting some little spacers [I like these 4mm daisy spacers] to put below the pearl, particularly if you plan to make a few pairs!)
- Earwires
- 24ga or 26ga wire (either gauge will work, so if you have either on hand it will be fine. I have used 24ga craft wire)
Tools You’ll Need:
Method:
-
- Start by making the pearl drop. Take your ballpin, slide on the bead and make a wrapped loop.
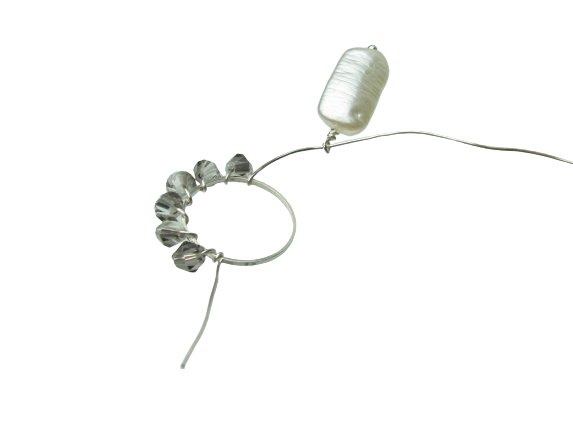
- Cut approx. 40cm of wire. Take your 16mm ring and wrap on 2 or three loops. You can tidy this up later so don’t worry too much – it’s just to secure it. Slide on a 4mm bicone.
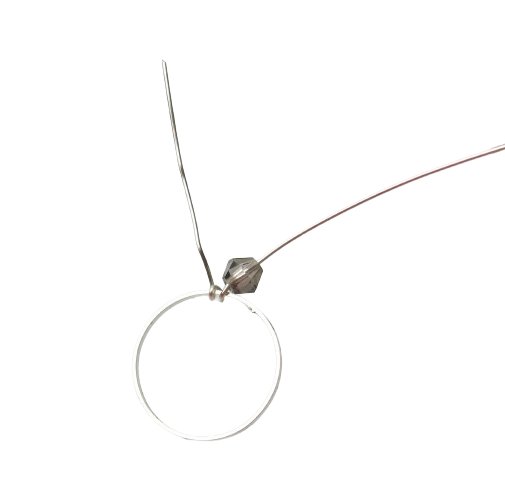
- Wrap the wire once around the ring. Keep the bicone at an angle (bring the wire down almost vertically after the bead).
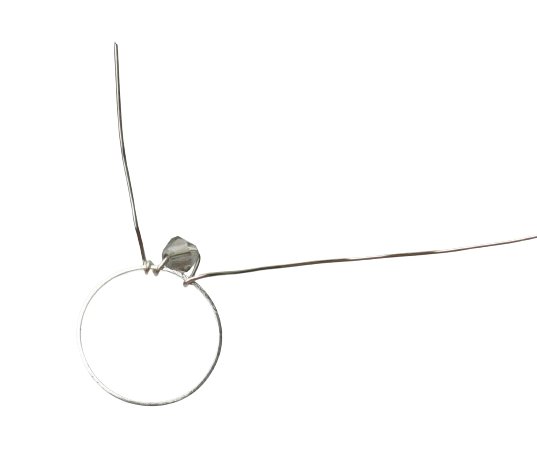
- Continue adding beads in this way, until you have reached the half way point (with this size of linking ring, that point is after 6 beads). Then, slide on your pearl drop:
- And form a loop around the linking ring to secure the pearl drop in place.
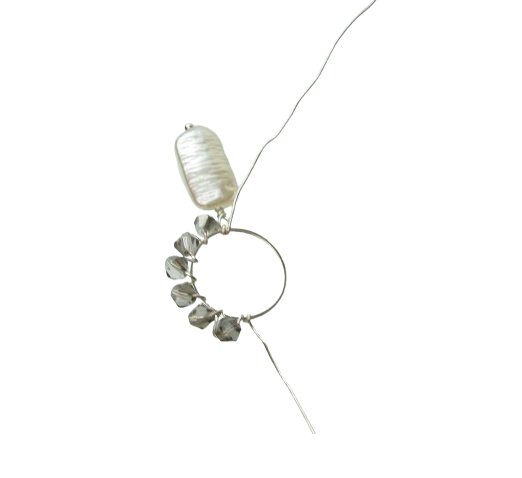
- Then, continue adding crystal bicone beads just as you did before.

- Trim the short tail that was left from the beginning of your wrapping. Then, on the long tail slide on a 4mm bicone bead.
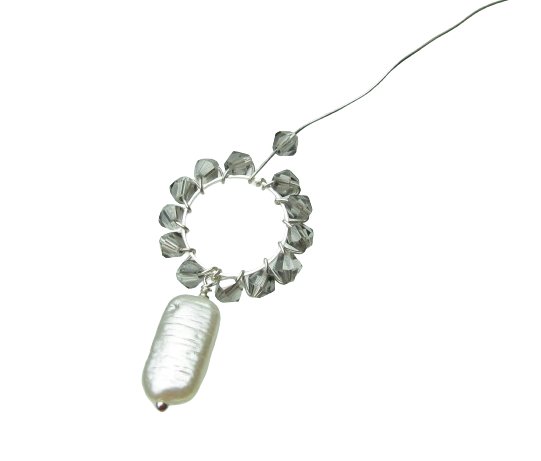
- Instead of wrapping after this bead, you will need to make a wrapped loop above the bead. This will allow you to attach the earring easily to an earring hook.

- Trim the tail from your wrapped loop.
- Open the loop on your earring hook, and attach to the wrapped loop you have just made. Close the loop on your earring wire.
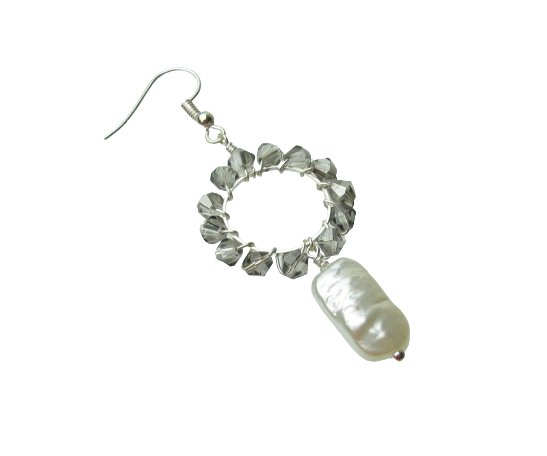
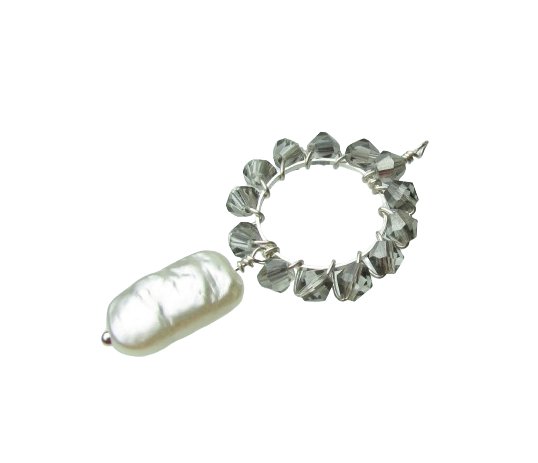
- And that’s it! We’ve made a couple of different designs using different pearls and using various sized linking rings. You will need to adjust the number of crystals you use depending on the size of the linking ring. The rule is just to eyeball it and stop at the halfway point to add your pearl.