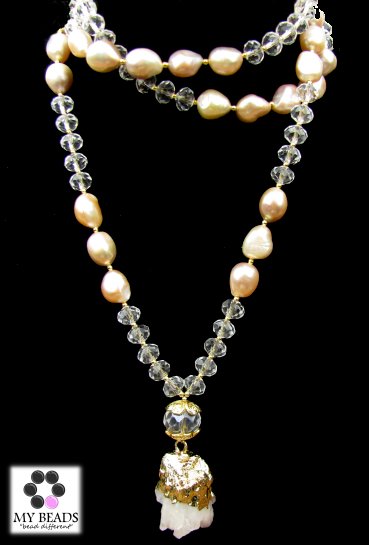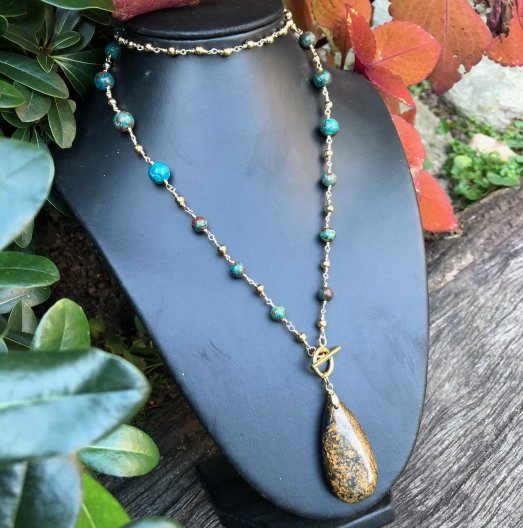
Why We Love This Tutorial:
This pretty necklace is made entirely with our brand new, tarnish-resistant range of findings! We are super excited by this range, so couldn’t wait to try them out. We used some of the beautiful natural Chrysocolla round gemstone beads, plus a very striking Bronzite Pendant. We’ve used a front toggle placement (making this necklace a lariat) for a little extra pizzazz.
Of course this design is completely versatile in terms of colours you could use – literally any round gemstone bead teamed with a complementary pendant would work.
Beads and Materials You’ll Need:
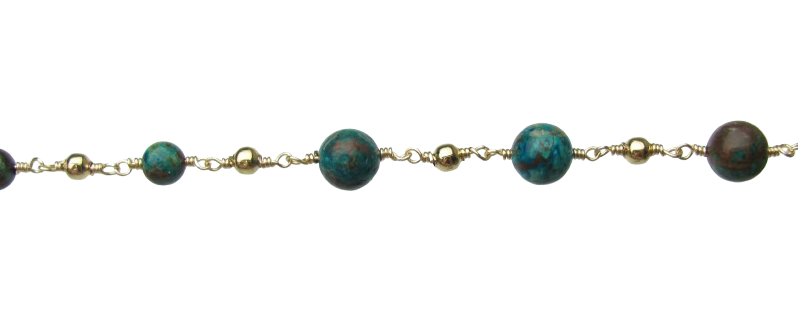
- 8mm Round Gemstone Beads (we’ve used natural Chrysocolla 8mm round beads)
- 6mm Round Gemstone Beads (we’ve used natural Chrysocolla 6mm round beads)
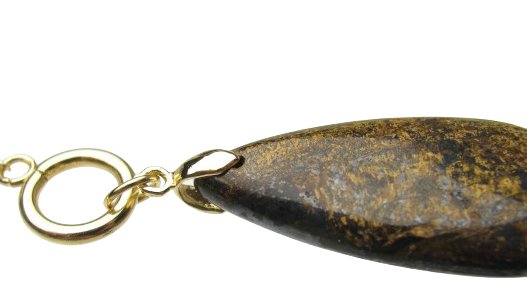
- Gemstone Pendant (we’ve used this Bronzite Pendant)
- 4mm Round Tarnish Resistant Beads
- Tarnish Resistant Toggle Clasp
- 4mm Tarnish Resistant Jump Rings
- 6mm Tarnish Resistant Jump Rings
- Tarnish Resistant Small Pinch Bail
- 22ga Artistic Wire
Tools You’ll Need:
Method:
- Take your pinch bail and cut off the top ‘V’ bail using flush cutters. Attach the pinch bail to the pendant. Take 6mm jump ring and attach the pendant to the ‘O’ section of the toggle.

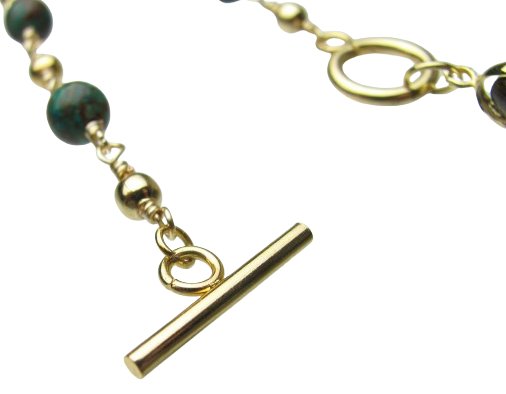
- Start at the ‘O’ section of the toggle, starting with a 4mm gold bead wrapped directly onto the toggle. Between each gemstone beads we will use a 4mm gold bead. The pattern is:
-
- 3x 6mm Chrysocolla Beads – 5x 8mm Crysocola Beads – 3x 6mm Chrysocolla beads – section of just 4mm gold beads (we have used 11, but you may like more of less depending on how long you would like your necklace) – 3x 6mm Chrysocolla Beads – 5x 8mm Chrysocolla Beads – 3x 6mm Chrysocolla Beads

- 3x 6mm Chrysocolla Beads – 5x 8mm Crysocola Beads – 3x 6mm Chrysocolla beads – section of just 4mm gold beads (we have used 11, but you may like more of less depending on how long you would like your necklace) – 3x 6mm Chrysocolla Beads – 5x 8mm Chrysocolla Beads – 3x 6mm Chrysocolla Beads
-
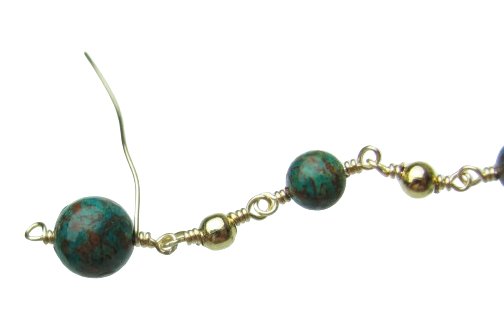
- This is a chain link necklace, made using wrapped loops. This is a very secure way to make a chain link necklace, as each wrapped loop attaches directly to the adjoining wrapped loop. To do this:
- take a piece of wire about 6cm long and start to form a loop at one end:
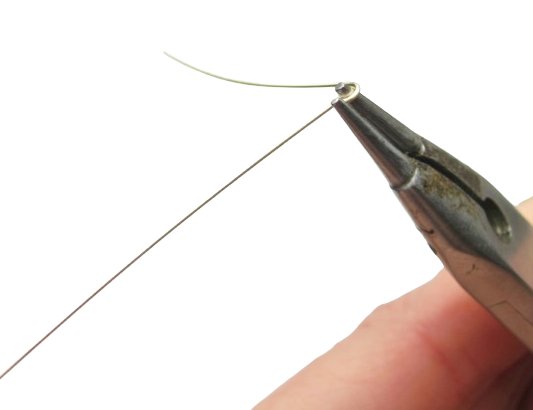

- Wrap the tail around the center wire approx. 3 times:
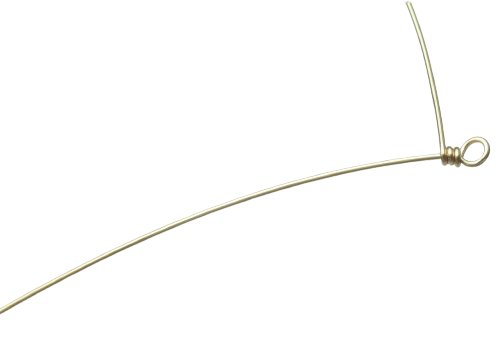

- Trim the tail using flush cutters, then add the bead:
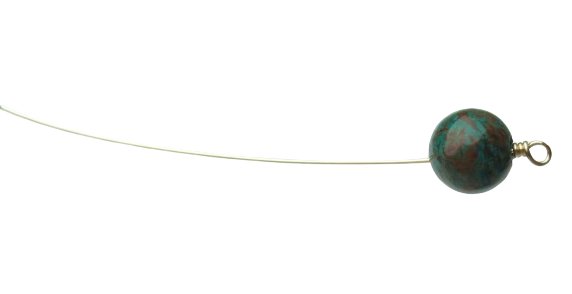

- Because this style of chain link attaches directly to the next wrapped loop section, you will need to attach this side onto the loop of the previous bead. (Or, if this is the first bead you will attach the wrapped loop directly onto the toggle).
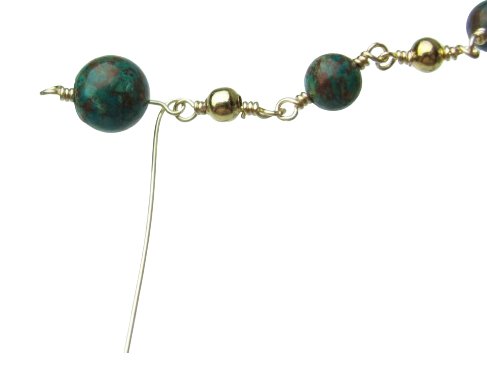
 Wrap three times then trim the tail:
- take a piece of wire about 6cm long and start to form a loop at one end:
- Attach the other half of the toggle. This time we will use a 4mm jump ring to attach the last wrapped bead section to the toggle, as we want it to hang a little lower.

- And you’re done!