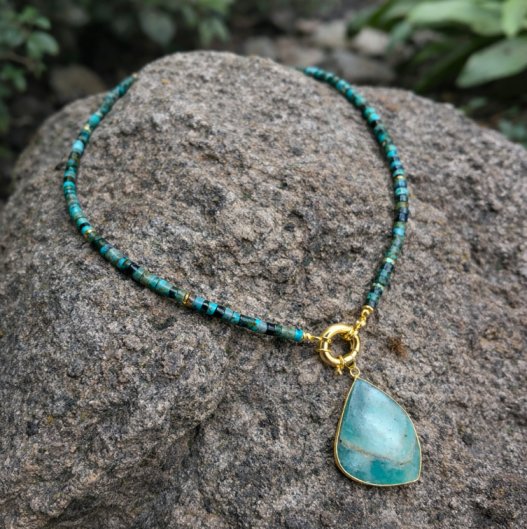
Why We Love This Tutorial:
Using our brand new Make it a Mala kits! It truly couldn’t be easier.
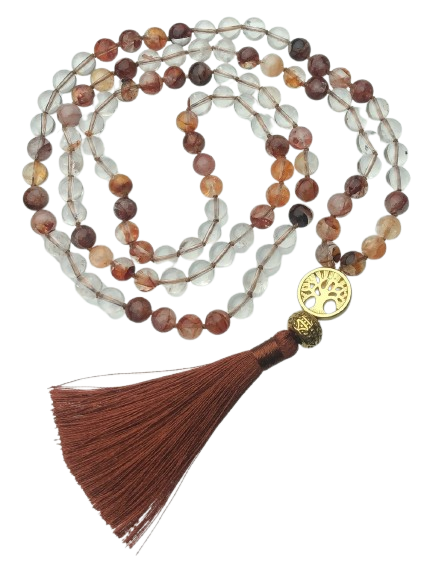
The Make it a Mala Kit includes everything you need to turn your chosen gemstone strands into a complete Mala, using traditional knotting techniques (gemstone beads sold separately). It’s designed for everyone and anyone, from complete beginners to experienced jewellery makers. Designed and produced in our store, all of the components have been thoughtfully chosen for quality, simplicity, and meaning.
Each kit contains enough all of the components and enough cord to make a full-length 108-bead Mala*. Simply choose your gemstone strands, select a matching Mala kit colour, and enjoy the creative, meditative process of bringing your Mala to life.
Beads and Materials You’ll Need:
- Make it a Mala Kit
- Beads of Choice (we recommend 6mm or 8mm round beads).
- Optional: Glue
Tools You’ll Need:
- Scissors
Method:
-
- We will be using the cord doubled over, so that we are working with two strands for this knotting technique. We recommend using the full length of 0.5mm nylon cord provided in the kit. It is enough to make a long, 108 bead Mala. If you are opting to make a shorter necklace, you won’t need quite all of the cord. But knotting uses a surprising amount of cord so it’s better to have too much rather than too little!
- Take your big eye needle, and open it with your fingernail. Thread in the cord:
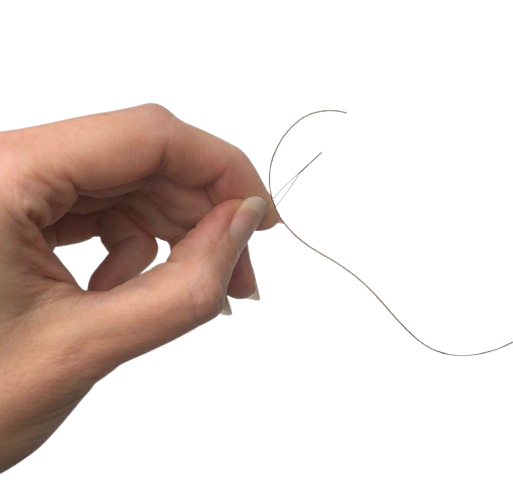
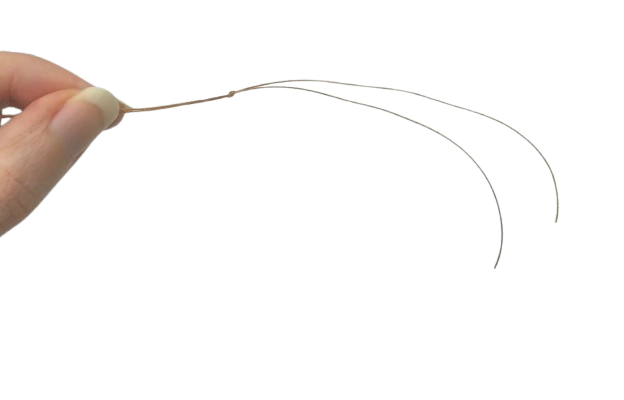
- Pull the cord so that the needle sits at the half way mark (approximately 2.5 metres in). At the other end of the two strands of cord, tie them together using a simply knot. Important: leave at least 10cm of cord after the knot. You will need this tail end later to finish your Mala off.
- Thread on your first bead, all the way down to the knot. Tie a simple, over hand knot using both strands together, and pull it to be quite small and close to the bead.
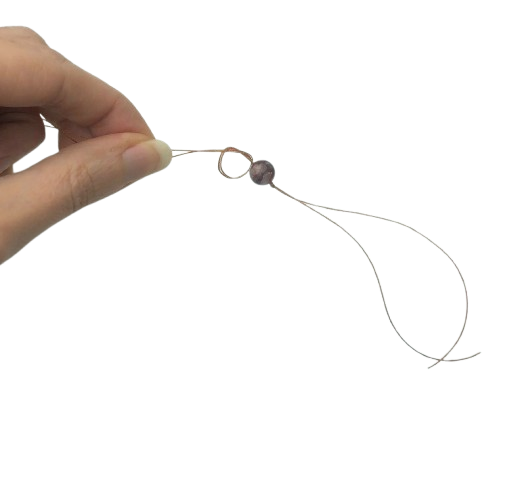
- To pull this knot snuggly up against the bead, you will need to separate the two strands like so:
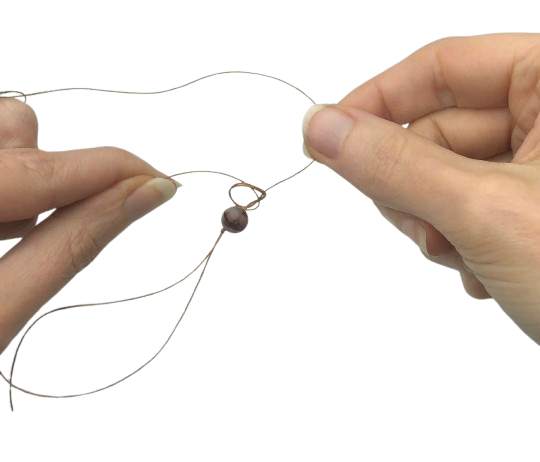
- Then pull in opposite directions:
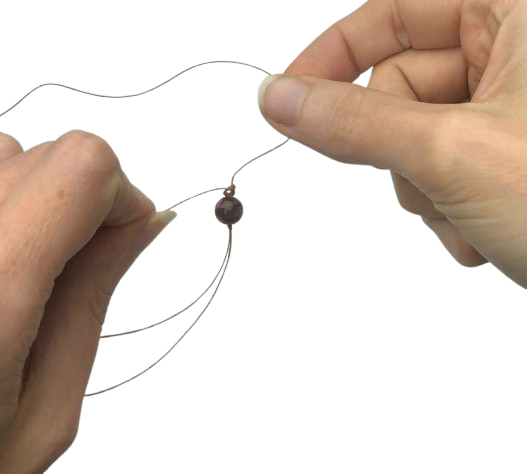
- Pull it tightly so the the knot closes up:
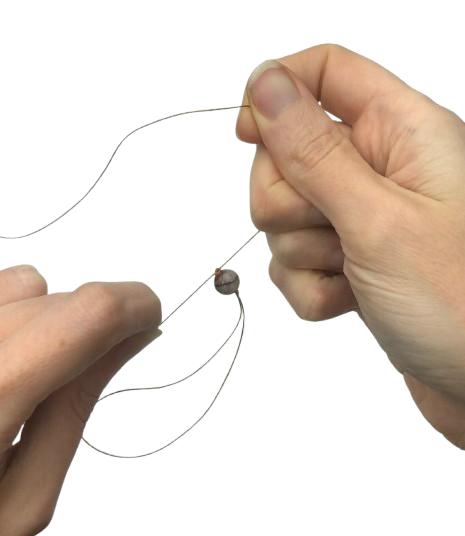
- That’s the basic knotting technique! It couldn’t be easier.
- Continue adding and knotting all of your beads, until you have made your Mala as long as you like.
- Now it’s time to finish off the Mala with your Guru beads and tassel. Pick up the tail end of the Mala (where you added your first bead).
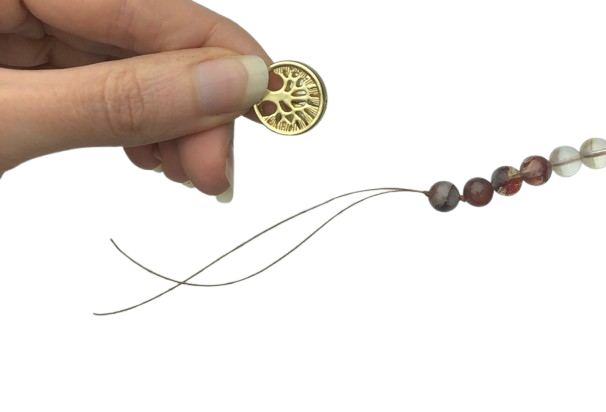
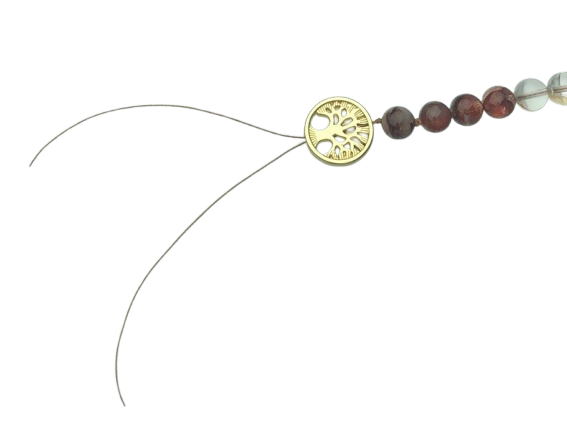
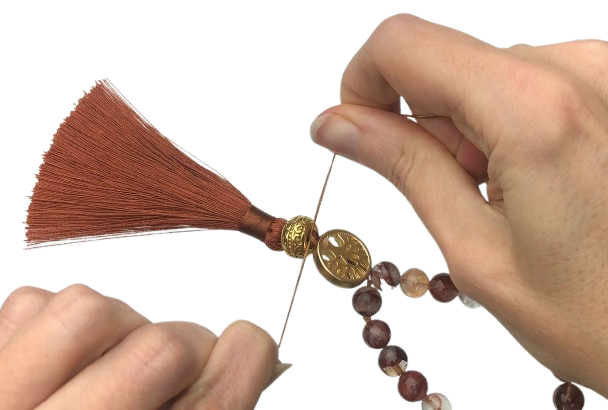
- Thread the tree of life bead onto these two tail strands (make sure you have the orientation right!):
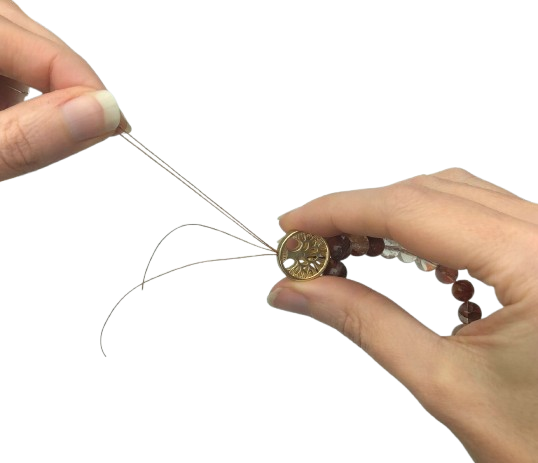
- Then, take the needle end of your mala and thread the needle through the tree of life bead:
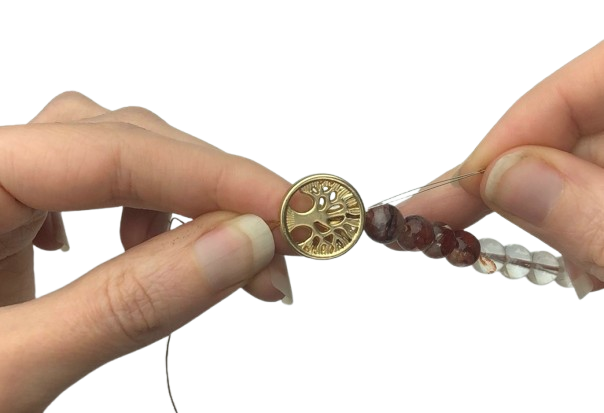
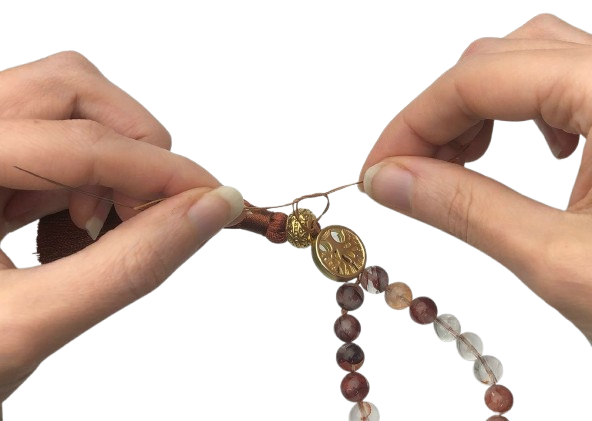
- Pull the cord through by pulling on the needle:
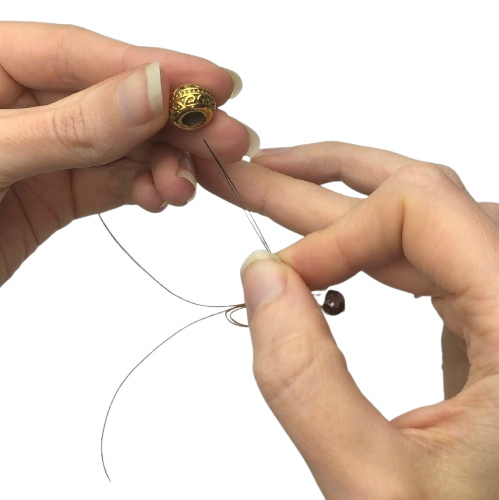
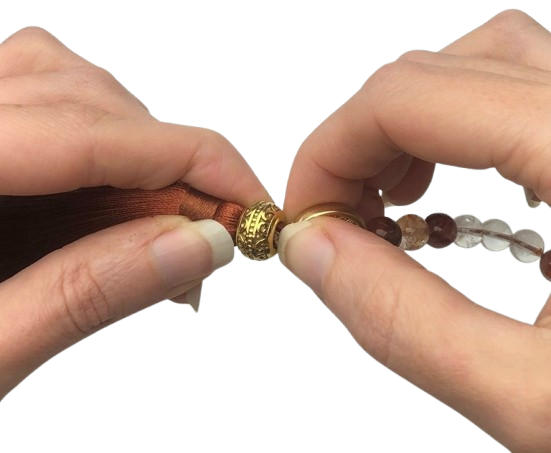
- Still working with the needle end, thread through the large-hole rondelle bead:
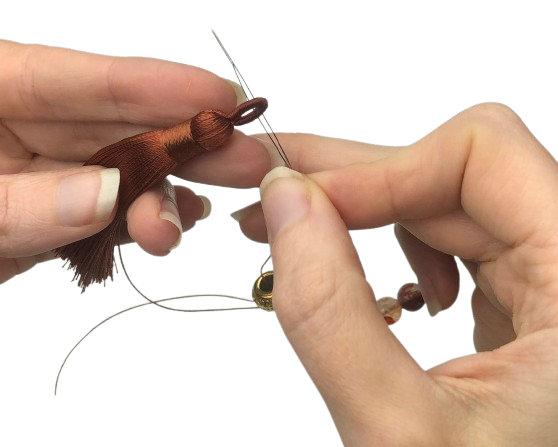
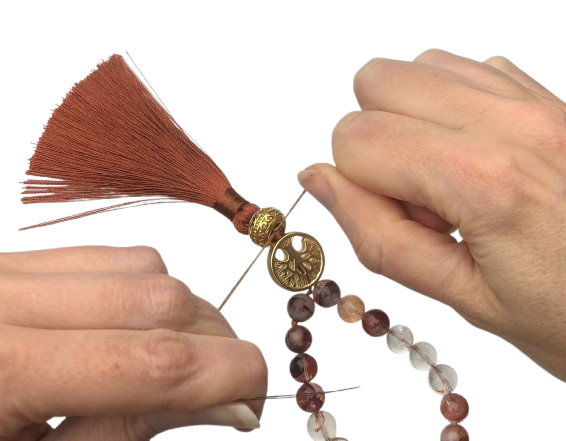
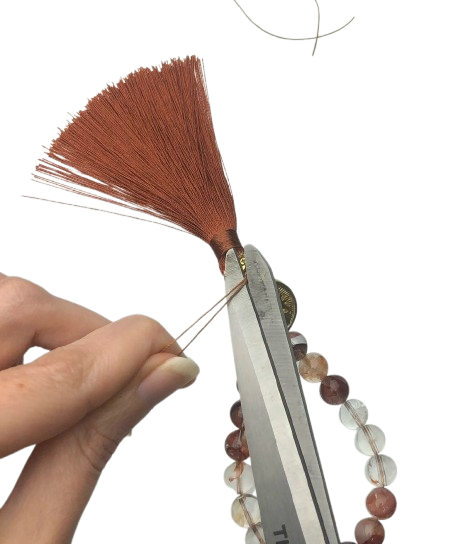
- Then thread the needle end through the loop on the tassel:
- Now we will curve around….
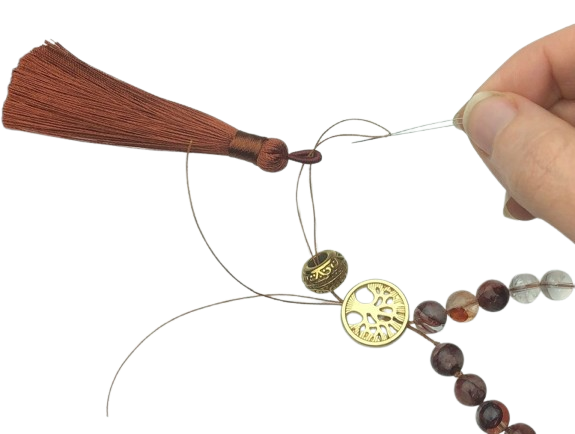
- … and thread the needle end back up through the large hole rondelle bead:
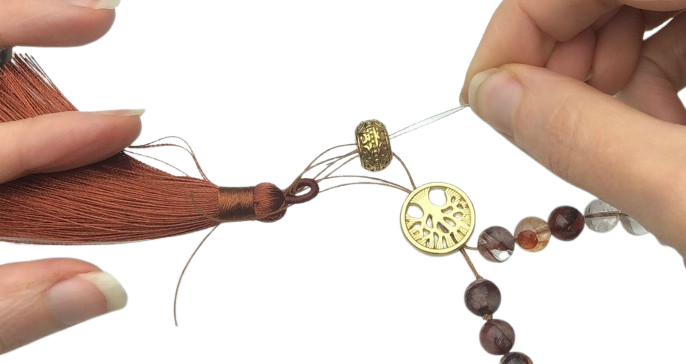
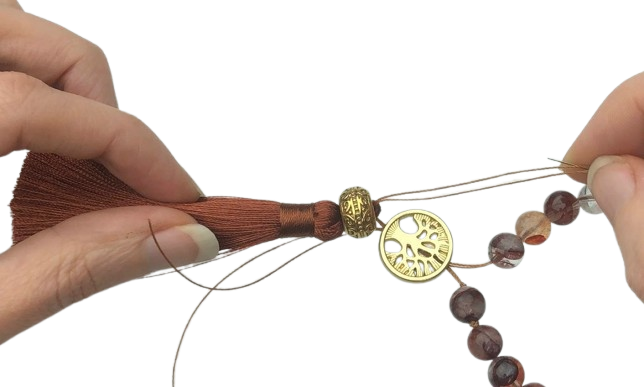
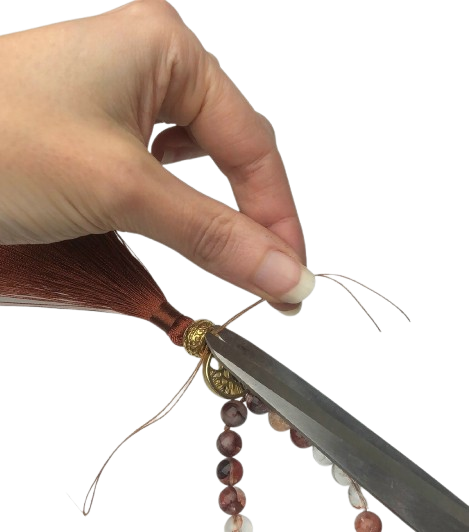
- Pull on the needle to pull the tassel up nice and close to the guru beads. Give the needle a little tug to pull the loop of the tassel inside the large hole rondelle bead:
- Now we will be tying off our Mala. You might like to cut the needle off the end of the strands at this point, otherwise you risk poking yourself with it when you tie the knot! Just make sure you leave enough of a tail to work with when tying your knot. We will be using a reef know to secure our tassel. A reef knot is simply a normal right over left knot, followed by a left over right knot. Step one in a reef knot: A normal right over left knot (tying the two tail sections together):

- Pull it very tightly:
- Then a left over right knot (simply the opposite of the first knot you did!):
- Pull it very tightly!
- This next step is completely optional, however you may wish to use a tiny dab of glue on this final knot. This will give you extra security that your knot will never come undone. The waxed nylon holds a knot very well, so you really don’t need the glue if you pull the knot nice and tightly.

- Take some very sharp scissors, and one at a time cut the two tails off.FirstTail:
- And the other tail:
- Using your thumb nail, tuck the small remaining knot down inside the large hole rondelle bead:
- Woo! You’re finished!