Why We Love This Tutorial:
To celebrate our brand new range of tarnish-resistant wire (in 6 colours!), we thought we’d test it out with a simple wired ring tutorial. What we love about this technique is it puts our new wire through it’s paces; we’ve used various pliers (round, flat, flush cutters) as well as hammered it – and we’re happy to report it held up perfectly! It’s a lovely soft wire (not entirely dead soft, and it will harden up as you work with it) so it’s super versatile in terms of what you can make out of it.
Anyway, back to the tutorial at hand! This ring is very easy to make, and took less than 30 minutes. You can use any beads you like (I am a little obsessed with these stunning faceted fluorite beads, so I couldn’t resist).
Beads and Materials You’ll Need (product name is clickable):
- 4mm gemstone beads (we have used Faceted Fluorite 4mm beads).
- 18ga wire (we used the light gold)
- 26ga wire (we used the light gold)
Tools You’ll Need:
- Round Nose Pliers
- Flush Cutters
- Flat or Chain Nose Pliers
- Nylon Jaw
- Ring Mandrel (or round object to shape the ring around)
- Hammer and Anvil/Bench Block are optional
Method:
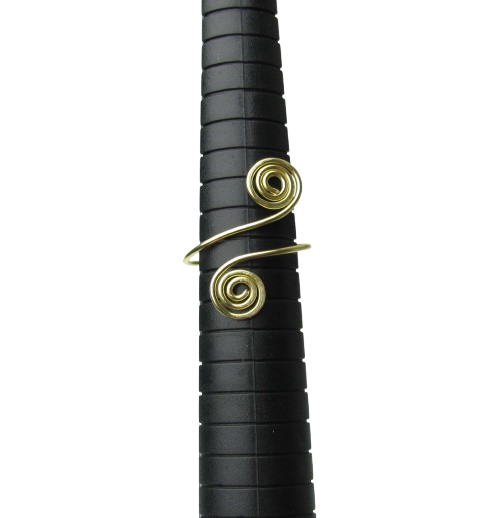
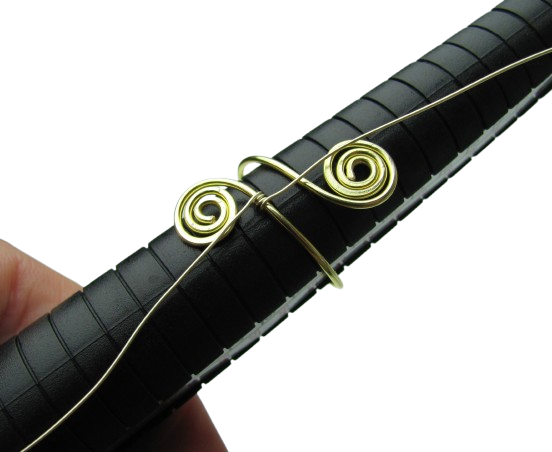
- Cut a piece of 18ga wire approximately 16cm long (obviously you may need more of less depending on your ring size. Our ring is approx. 18mm in diameter which is an AU size P). Make a swirl at each end (swirling in opposite directions). To make the swirl, start with your round nose pliers (to make the initial loop and part of the swirl) and move to nylon jaw pliers to continue the swirl. Note: at this stage I also hammered just the swirls, to make them slightly flattened. This is completely optional, I just like the look!

- Take your ring mandrel, and wrap this wire around the mandrel at your desired size.
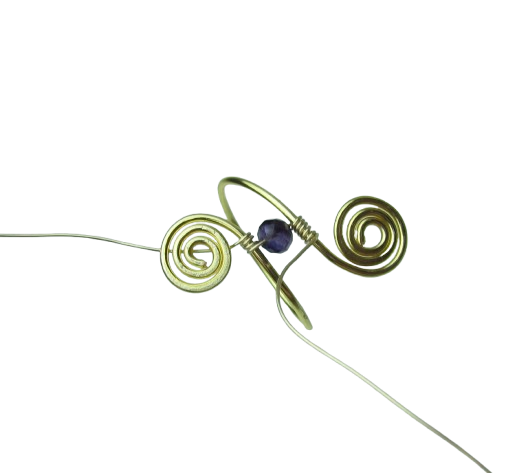
- Cut about 40cm of your 26ga wire (I didn’t measure this precisely, as it’s always good to have a little extra to work with. Wrap 3 times around the bottom wire of the ring. (We haven’t trimmed the [quite long!] tail in the photo yet). Note: We did this off the mandrel, but put it on the mandrel for the photo as it showed up better.
- Thread your bead onto the wire. Then, wrap 5-6 times around the top wire of the ring.
- Thread on another bead, and repeat the process until all three beads are used.
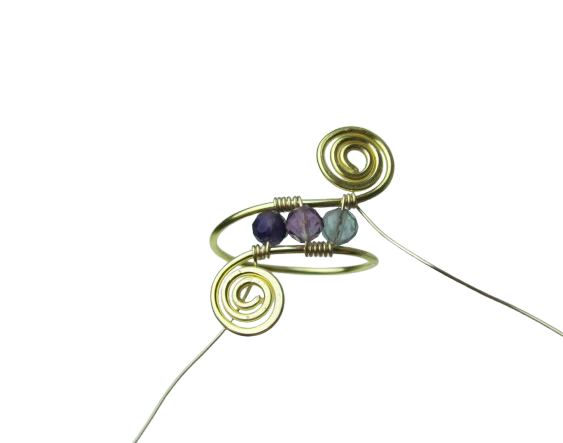
- Trim the 26ga wire using flush cutters. Tuck down and tiny tail that is left using flat nose pliers.

- And that’s it! Super easy 😀
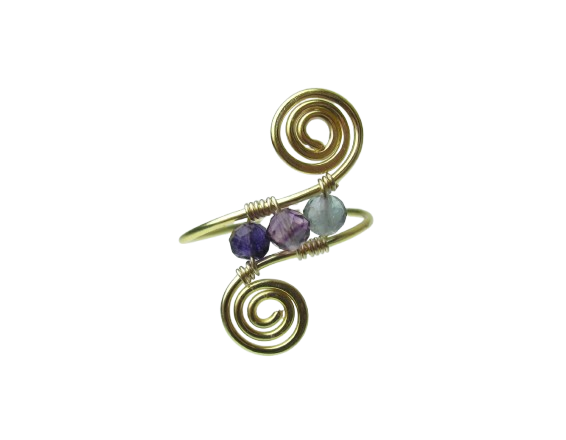
- How pretty are the sparkly little fluorite beads?!

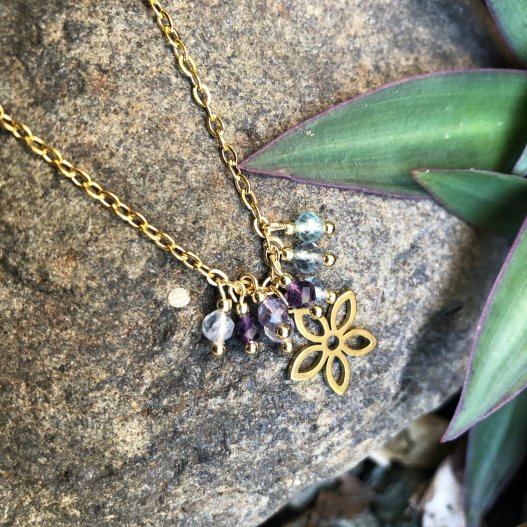
- I love these fluorite beads so much I made a matching necklace…
- The set: