Why We Love This Tutorial:
These dramatic earrings are made simply with wire and beads – they are great to use up the last few remaining beads off a strand or any that you have lying around! Our example photo uses some of the gorgeous new freshwater pearls and some glass crystal cube beads. The design I made for the tutorial steps were actually just some random beads I had on my desk… so you really can use anything! I also love that this design is extremely forgiving in terms of technique – you don’t need to be super neat, and if you run out of wire you can simply add more as you’re wrapping. And (as you’ll see in the tutorial below), if it isn’t quite sitting right at the end, you can easily maneuver the beads into position.
Please note: in addition to the exact products we have used in this tutorial, we have also added a link to several product options that would work just as well (in case the exact products have sold out!). Our range of pearls, gemstones and specialty findings change frequently 🙂
Beads and Materials You’ll Need:
- Mixture of small pearls and gemstone beads. Our smallest is 4mm, and the largest is approx. 8-9mm. Specifically:
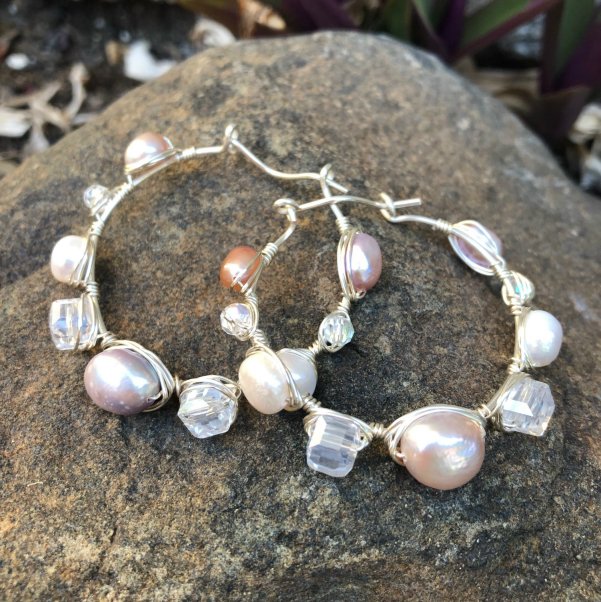
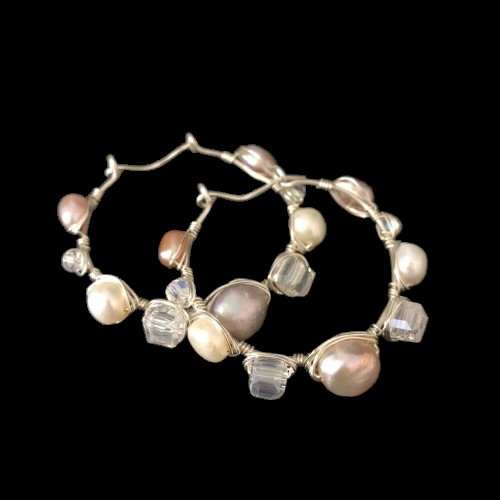
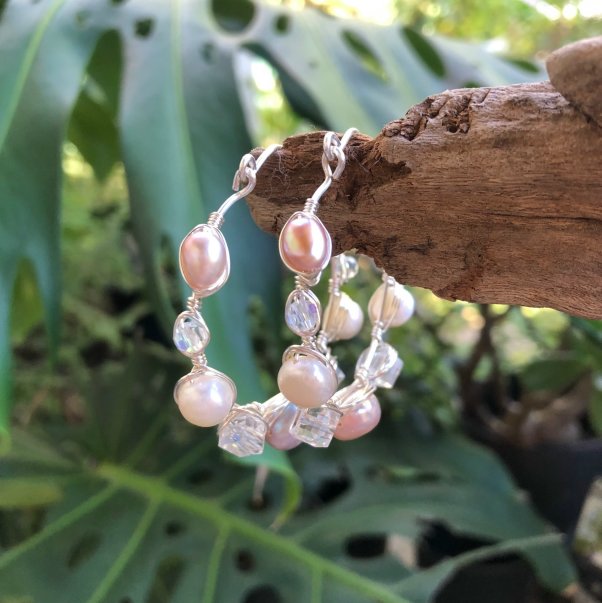
- Freshwater pearls: Our main photo uses a mix of white and lilac/peach elongated nugget pearls, ranging in size from 4-5mm up to about 8-9mm for the large centre pearl. Our tutorial steps design uses small white nugget pearls and an 8-10mm elongated nugget pearl in the centre.
- 6mm Glass Crystal Cubes beads (we used clear ab). In the tutorial steps photos, we used gemstone beads: 4mm faceted cubes and 6mm faceted rounds.
- 4mm Glass Crystal Round Beads (we used clear ab)
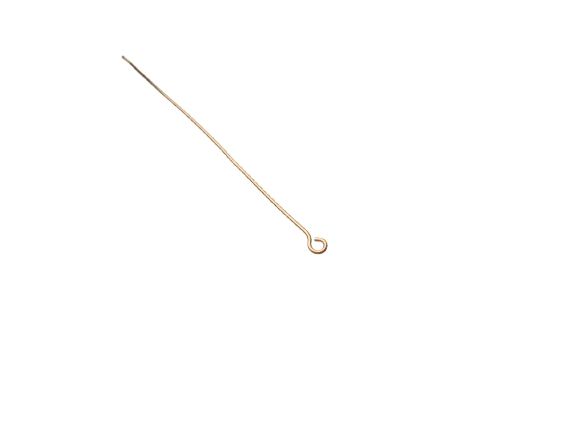
- 18ga wire (we used our own brand in this design, but any of the 18ga wire will work).
- 24ga wire
Tools You’ll Need:
- Bent or Flat Nose pliers
- Round Nose Pliers
- Flush Cutters
- Ring Mandrel (or something around 3cm in diametre to shape the hoop around).
- Chasing hammer
- Bench block
Method:
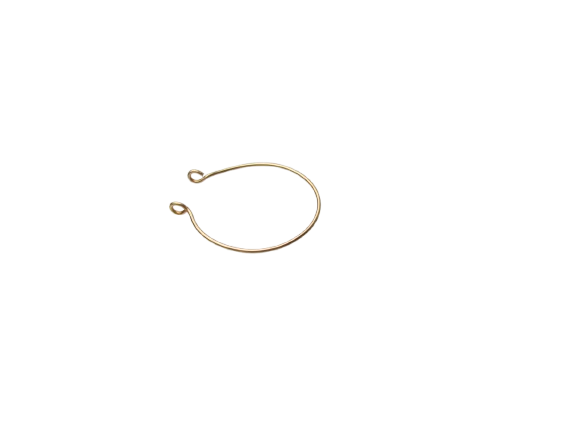
- Cut a piece of 18 gauge wire to approximately 10cm. Form a small loop at one end using your round nose pliers.
- Shape your wire around the very end of your ring mandrel.
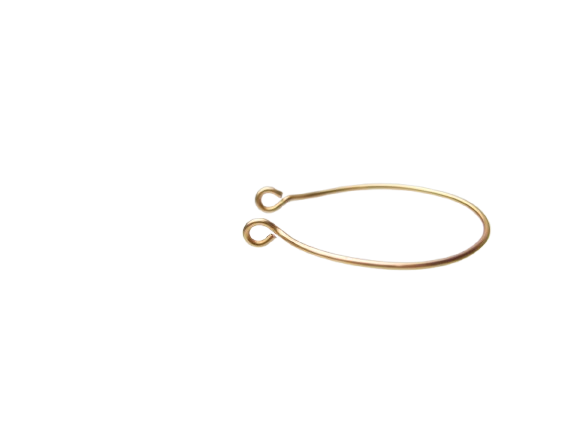
- Then form a loop at the other end of your wire. You want a gap of about 1.5cm once both loops are formed.
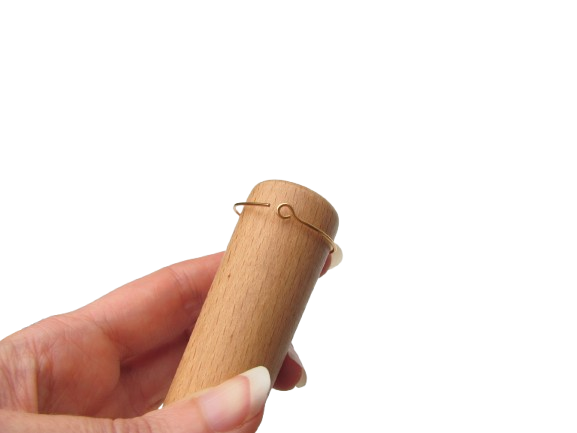
- Make sure the loops are in the correct position using your flat nose pliers. They should be upright (vertical to the earring) and parallel to each other.
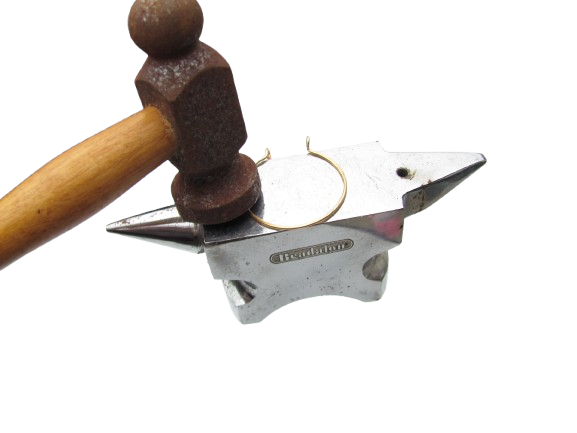
- I also like to lightly hammer the earring at the stage, as it hardens up the wire and enables it to hold its shape better.
- Take about 1 metre of your 24ga wire, and wrap three times around the earring frame. The position doesn’t really matter as you can move it later.
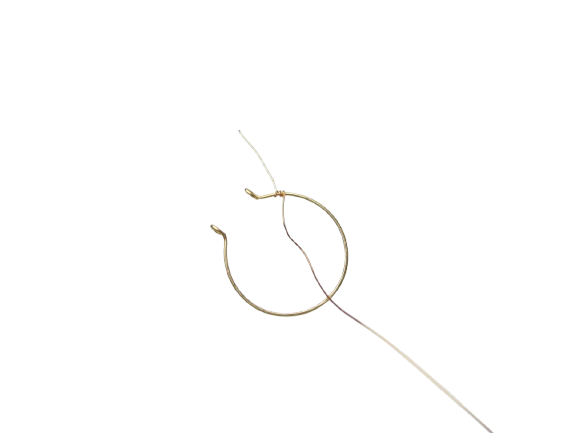
- Then, thread on a bead and wrap just once around the frame after the bead.
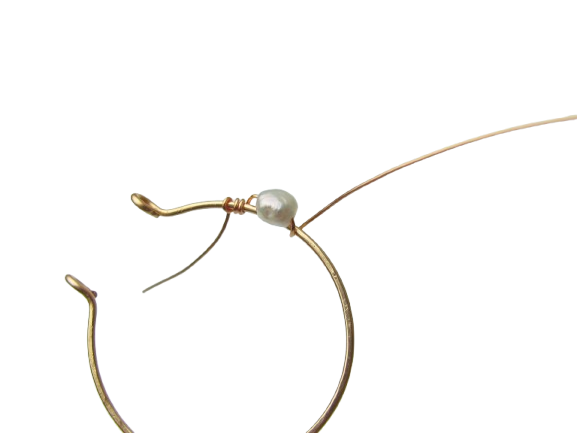
- Take the wire, and wrap it around the bead approximately three times. (Keeping above the earring frame).
- Then take the wire and wrap three times around the earring frame.
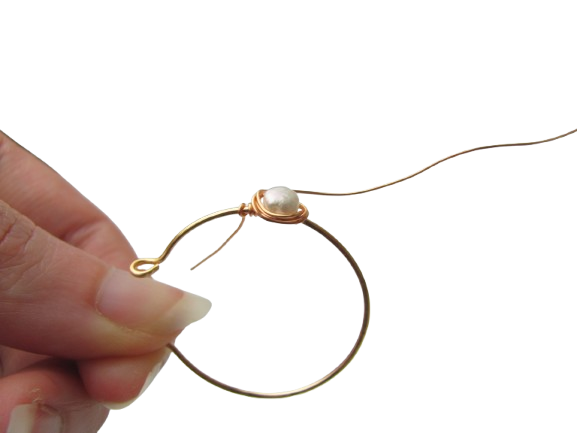
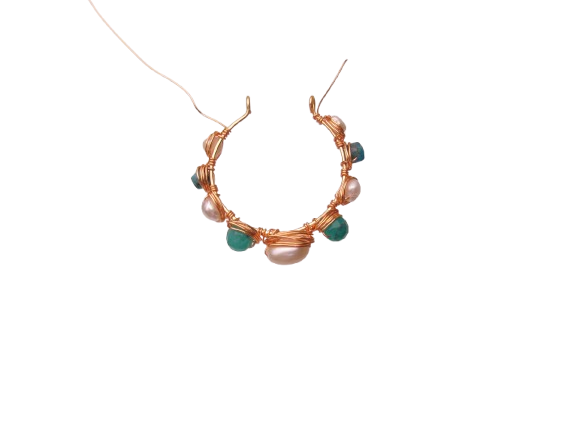
- Now keep adding beads in this manner, with three wraps on the frame between each bead.
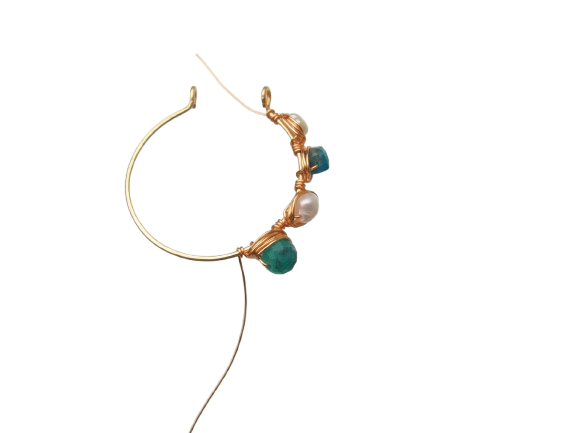
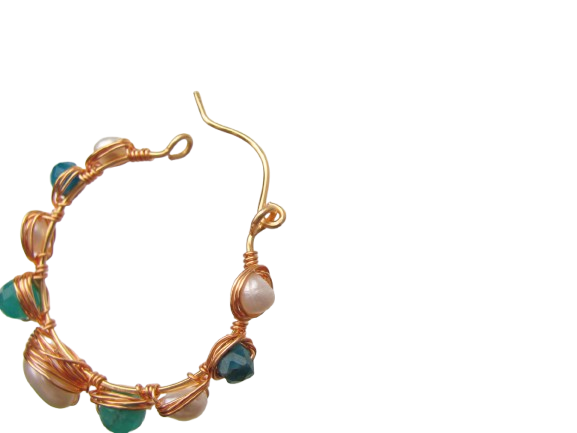
- Once you have added all of your beads, check to see if they are in the right position. Ours, clearly is a bit skewed!
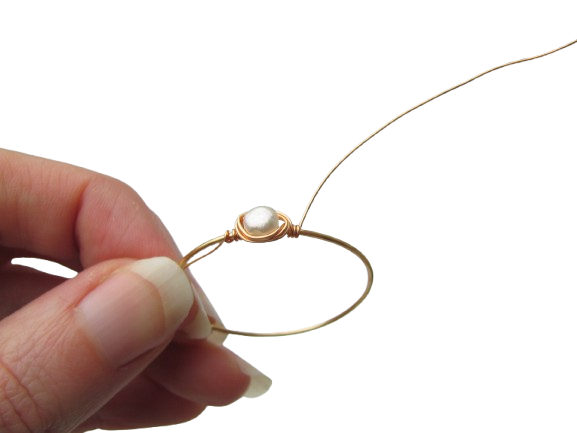
- Simply use your fingers to maneuver the beads into a symmetrical position by gently sliding them along the frame.
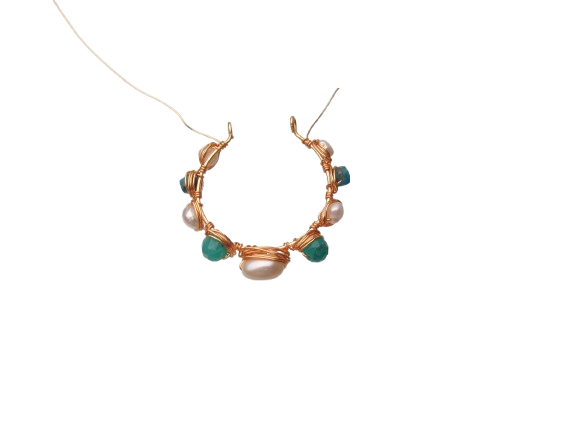
- Trim the remaining 24ga wire tails using your flush cutters.
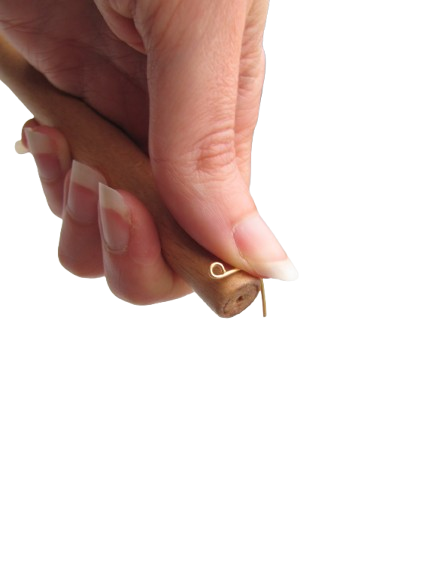
- Now, to make the hinge. Cut a piece of 18ga wire to approx. 3cm long. Make a small loop in one end using your round nose pliers. Using your fingers, or a round object (we used the small end of the ring mandrel), form a slight hump in the wire.
- Then, use your flat nose pliers to create the ‘flick’. Refer to photo for shape!
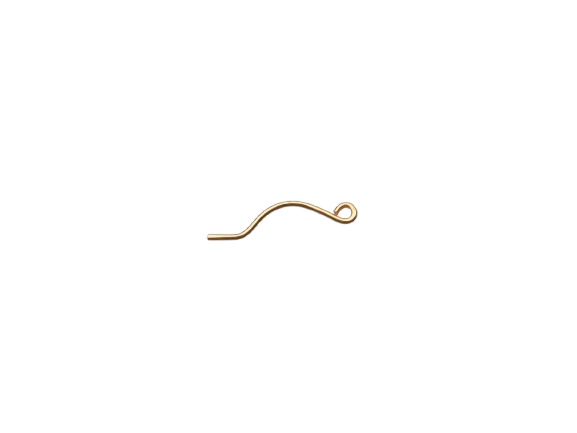
- Open up one of the loops on the hoop and attach the lever. Close the loop using your pliers.
- Now the hinge is ready to use, simply slip it into the open loop on the earring.

- And you’re done! Well… after you making the matching earring of course!
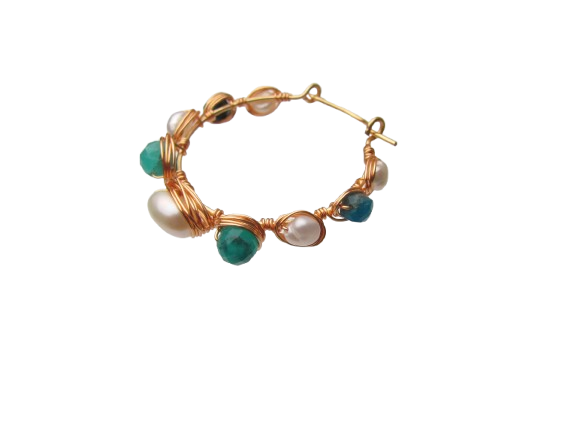 A few shots of our main design: