Why We Love This Tutorial:
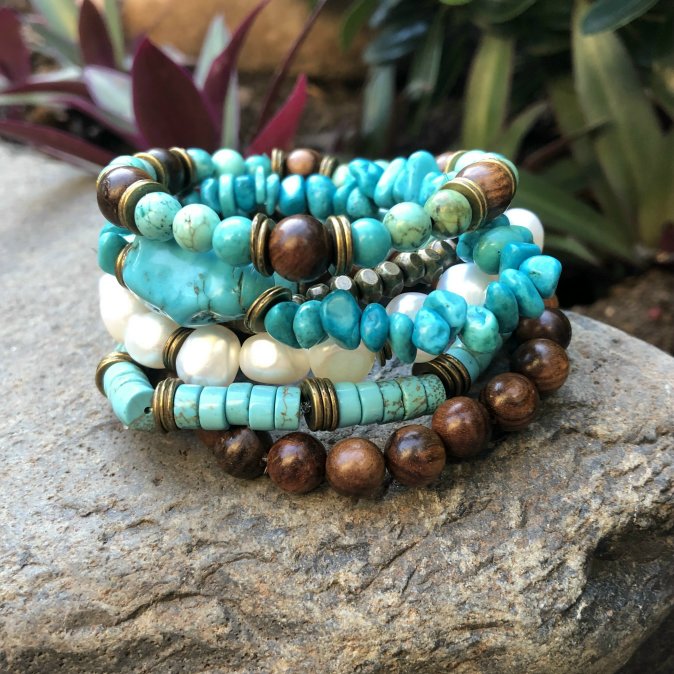
Stacked bracelets are an easy project to make when you’re feeling a little indecisive! I just adore all of the beautiful new Turquoise Magnesite beads that have arrived in, and I couldn’t seem to work out what I wanted to make out of them. The stacked bracelets meant I could use a variety of shapes and sizes; the only rule really is that the colours tie together. I’ve used Turquoise mixed with wood and freshwater pearls – a very classic combo. In terms of shapes, you can honestly just select a few random shapes and start threading!
I won’t include the precise quantities I have used in these bracelets as you’ll no doubt want to make them to fit our own wrist, plus, like I’ve said there are no real rules with this style of bracelet. I have included a photo of each bracelet in the stack if you’re looking for a little guidance on design 🙂
Beads and Materials You’ll Need:
- Mixture of Turquoise Magnesite beads (I’ve used 6mm turquoise magnesite round beads, 8mm round turquoise magnesite beads, 16mm round turquoise magnesite beads, 6mm wheels, turquoise small chips/nuggets and turquoise nugget beads)
- Wood Beads (I’ve used 8mm round)
- Freshwater Pearls (I’ve used white nugget freshwater pearl beads size 10-11mm* if these are out of stock by the time you a reading this, any white pearl will work just fine… please see our huge selection of white freshwater pearls here).
- Bronze Toned Spacer Beads and/or caps (I’ve used these bronze cubish spacers, these bronze washer spacers, these bronze swirl bead caps)
- Elastic (I’ve used this 0.6mm white elastic because I find it easier to tie off. However the 0.8mm elastic will also work just fine!).
- Glue (optional)
Tools You’ll Need:
- Scissors
Method:
-
- These bracelets are simply strung on elastic cord and tied off. I prefer to use a reef/square knot to tie off elastic cord (right over left, then left over right) – the key is to pull the elastic very tight when securing the knot. If it is not pulled tight enough, it may just unravel on itself! Some people use a little spot of glue on the knot to help prevent it unraveling. The diagram below shows how to tie a reef knot (we’ve used thick cord to make the photo clear, click the image to see full size):

- Also, I will often use a bead with a slightly bigger hole to slide over the knot to hide it. I haven’t done that with these bracelets as honestly, the knot is tiny and not that noticeable!
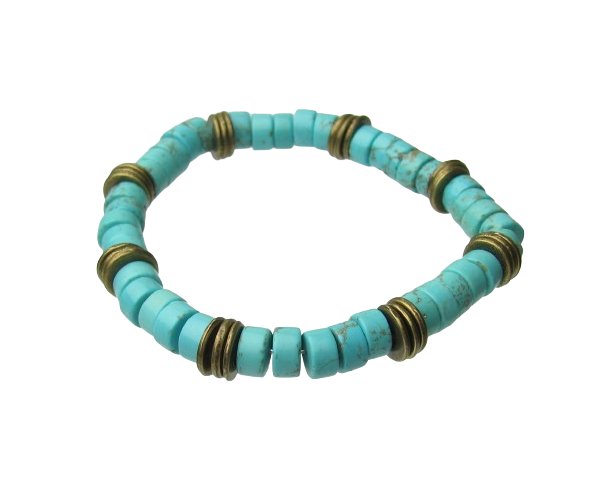
- Here are some photos of the bracelets in this stack to give you a little inspo:


- These bracelets are simply strung on elastic cord and tied off. I prefer to use a reef/square knot to tie off elastic cord (right over left, then left over right) – the key is to pull the elastic very tight when securing the knot. If it is not pulled tight enough, it may just unravel on itself! Some people use a little spot of glue on the knot to help prevent it unraveling. The diagram below shows how to tie a reef knot (we’ve used thick cord to make the photo clear, click the image to see full size):