Why We Love This Tutorial:
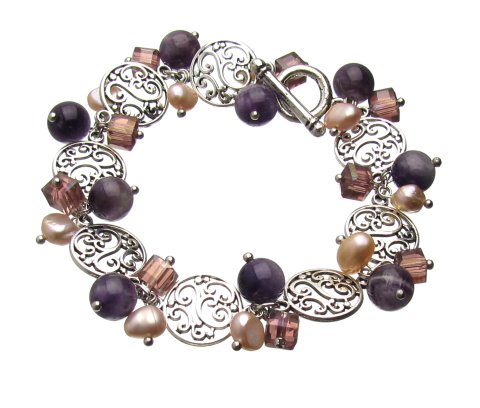
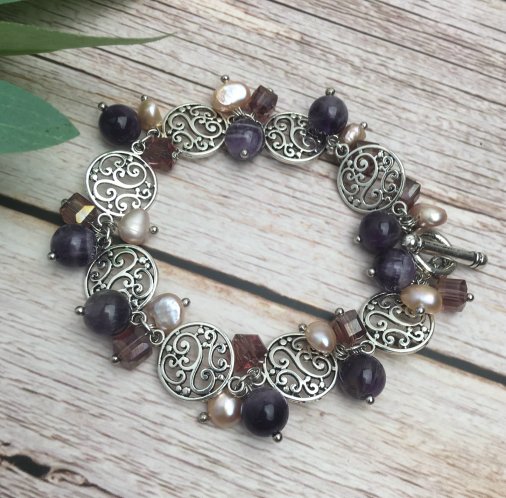
This pretty, vintage-look bracelet uses a few simple (beginner level) techniques to produce something just a little bit fancy. It uses a combination of beads and findings that are completely interchangeable, meaning the possibilities are literally limitless for design ideas! For example, we have used lovely natural Amethyst beads, freshwater pearls and cube-shaped crystals. We’ve also used antique silver look filigree connectors. But imagine if you used rustic wooden beads, an earthy Jasper chip (perhaps Picture Jasper or Tiger Eye) and Bronze connectors…. yup, I’m already feeling inspired!!
Beads And Materials You’ll Need:
A note on the beads we’ve used: this design was made on the 5th of June, 2020. Unfortunately we cannot guarantee all the beads we have used will be available at the time you a reading this. You may need to find a similar alternative. For this reason, for some of the product links below we’ll give you a choice of beads that will work in this design.
- Banded Amethyst 8mm Round Beads or Amethyst 8mm Round Beads
- Peach Nugget Freshwater Pearls (we have used 6-7mm pearls)
- Mauve Crystal Beads (we have used this 6mm cube, but anything 8mm or smaller would work!)
- Metal Connectors (we have used this filigree connector).
- Toggle Clasp
- Small Jump Rings (5mm or 6mm will work)
- Headpins (we have used these nickel toned ballpins)
Tools You’ll Need:
- Round Nose Pliers
- Flat nose pliers
- Cutting pliers if using longer headpins
Method:
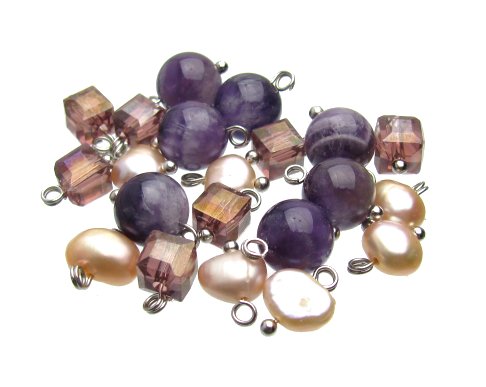
- The first (and most time consuming!) step is to make all of the dangles. When it comes to making dangles, you have a few options.
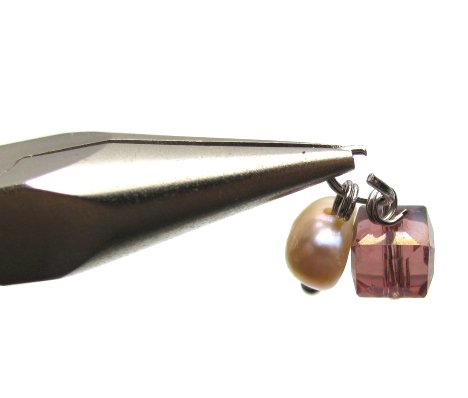
- The easiest way is to make a simple loop (cut 1cm above the bead and make a loop). Our problem with this style of dangle is it leaves a small opening which could enable the dangle to slip off the jewellery.
- Another popular option is the wrapped loop. We love this technique, however it is fairly difficult to master (well, at least neatly!) and it is quite time consuming. Plus, due to the wrapped area it does mean your dangle will be a little longer than other styles of wrapped loops. And if you’re after a tight cluster it may be a little too long.
- We have used the coil technique for making these dangles, which is a very easy way of creating dangles that are secure and can not fall of your design. In this technique, you simply coil the headpin around you round noose pliers. You need to use relatively short headpins (about 25mm) and you’ll wrap about 2-4 times.
- We have made 9 of each for this bracelet which is to fit quite a small wrist.
- Now it is time to join all the components together! Take your jump ring and attach three of the dangles (one of each bead type).
- Attach two of the connectors together using this jump ring.
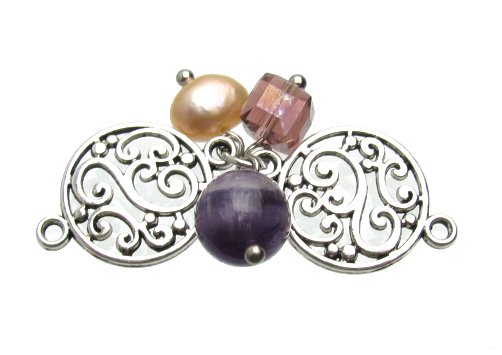
- Repeat this process and join all of your connectors together. When you get to the end, attach a toggle clasp. We have also put dangles on the jump rings attaching the toggle. You may need to use an extra jump ring on the bar sections of your toggle to ensure it slips easily through the ‘O’ section.