Why We Love This Tutorial:
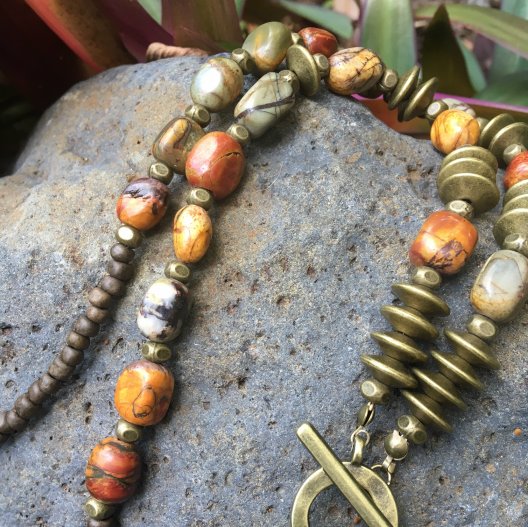
I must admit, the main reason I love this tutorial is not so much about the technique this time… but mostly because of those amazing Picasso Jasper nugget beads! Those rich warms tones mixed with rustic bronze is exactly what I need to warm me up this winter 🙂
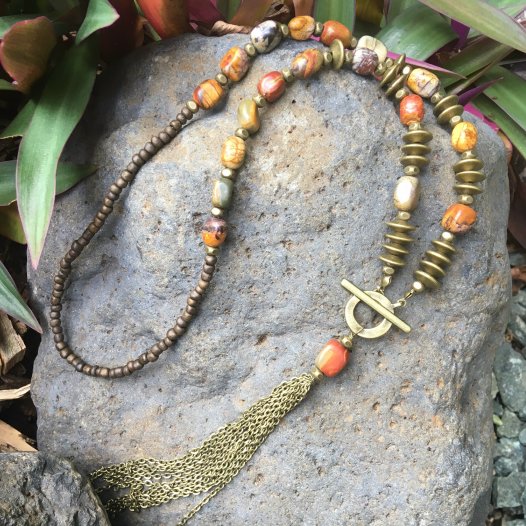
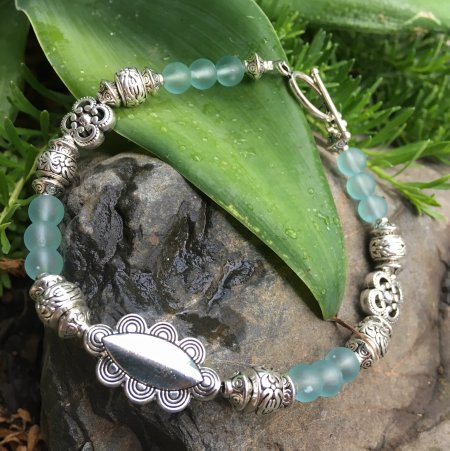
Combined with the front toggle placement (making this necklace a lariat), the easy-as chain tassel is a great little technique to add a twist to your standard tassel necklace. Of course this design is completely versatile in terms of colours you could use – we’ve used some of our new range of Picasso Jasper beads, along with the antique bronze findings. But hey, if you’re reading this at a later date in summer, perhaps you’d like to use silver with some bright colours like Cherry Quartz, Blue Sponge Quartz and Green Aventurine (pretty!).
Beads and Materials You’ll Need:
- Gemstone Nugget Beads (we have used 10-12mm Picasso Jasper Nuggets. Please note, as with all of our fancy gemstone beads, we change our stock regularly – so if these beads are not longer available, try something different! You could easily use 10mm round Picasso Jasper beads or a different shape).
- Saucer Shaped Beads – I have used these wood saucer beads. (Okay… so I am going to be honest here! The first version of this necklace was made using these bronze saucer beads. However, when writing up this tutorial I discovered we are actually almost out of stock 🙁 We have more on order, but they’ll be a few weeks yet! So I have remade this necklace using some similar looking wood saucer beads. You may notice in the step-by-step photos I am using the bronze saucers – that’s why!
- Bronze Toned Metal Spacer 4 – 5mm (we have used these bronze spacers, but if they are no longer available anything around that size will for fine. Even just plain round 4mm bronze beads.)
- Size 6/0 Seed Beads (we have used Matte Bronze Seed Beads 6/0)
- Toggle Clasp of your choice (we have used this style – but if it’s no longer available, please try a different style).
- 50mm Eyepins (we have used Bronze Toned Eyepins 50mm)
- Fine Chain (we have used this fine bronze toned chain)
- 2x 4mm Jump Rings
- 2x Crimps
- 2x clamshells (or you can just use the crimps, but I like the neat look of clamshells).
- Tiger Tail (we used 0.45mm)
Tools You’ll Need:
- Flat Nose pliers (for crimping)
- Round Nose Pliers
- Flush Cutters
- Scissors (for cutting tiger tail – never use pliers for this!)
Method:
- Make the chain tassel first. Cut 10 pieces of chain to about 8cm long each. Then, open your eyepin and thread all 10pcs of chain onto the open eye.
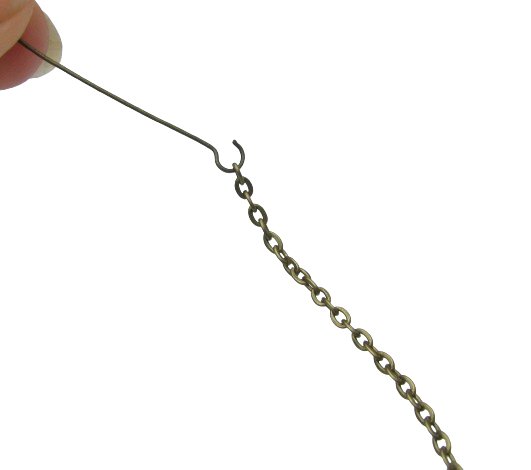 All 10pcs of chain on:
 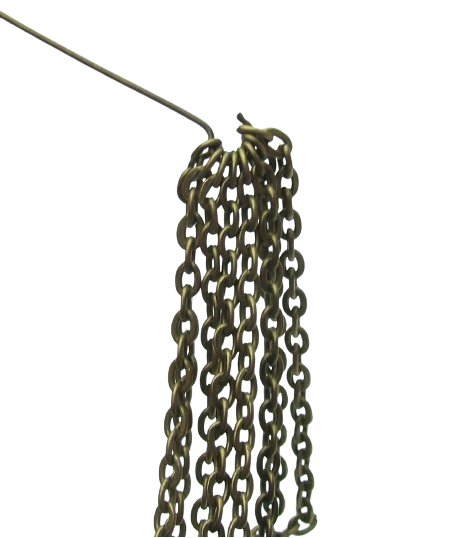 Close up the eye:
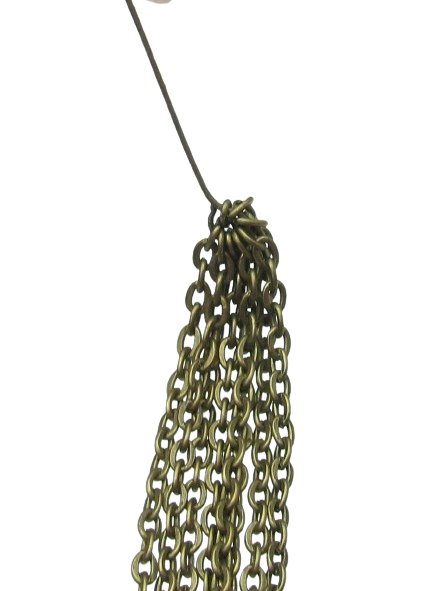
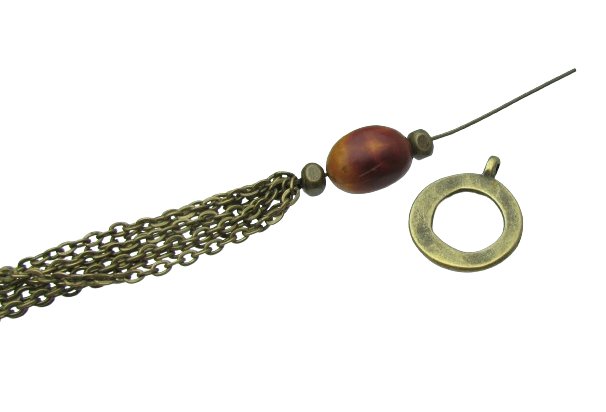
- Thread on a bronze spacer, a gemstone nugget and another bronze spacer.
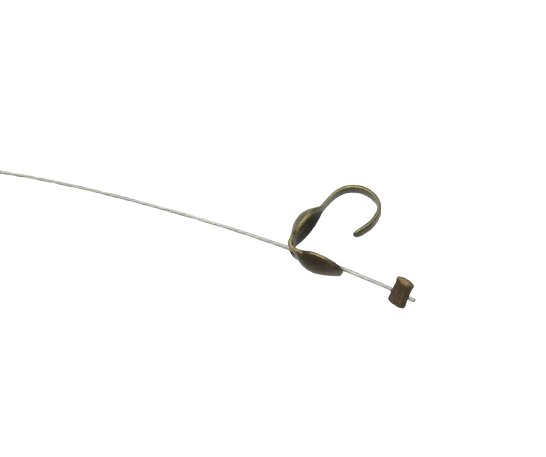
- Make a wrapped loop around your toggle ( like to use a wrapped loop here so that your tassel can’t fall of the toggle! But if you’d prefer, you can do just a standard loop to attach). As it has to go around the fairly wide toggle, go quite far down your round nose pliers:
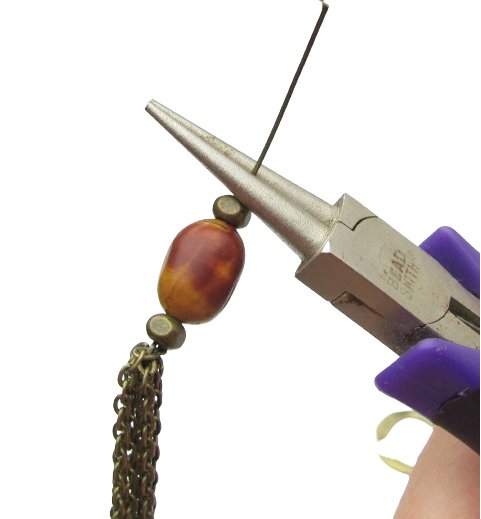 Start of the wrapped loop:
 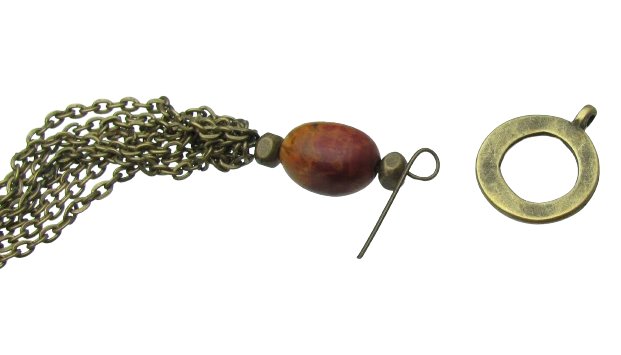 Slip it onto the toggle:
 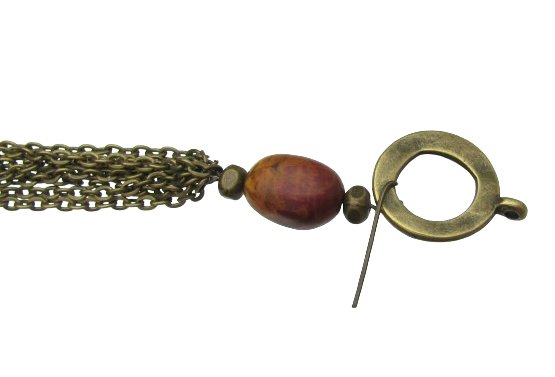 Wrap one or two times:
 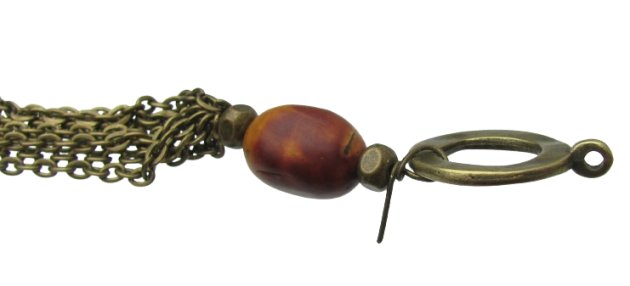 Trim with flush cutters to complete the tassle:
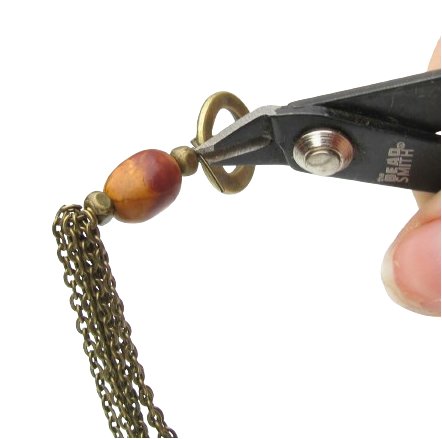
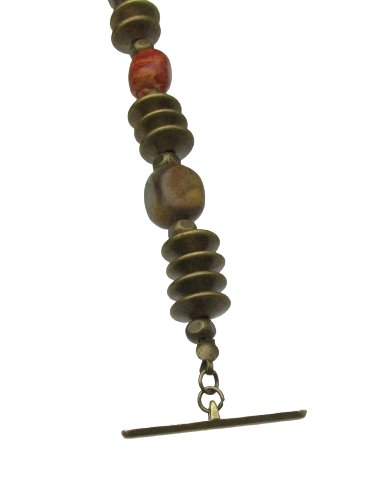
- Now it’s time to make the necklace. Take a piece of tigertail around 80cm long. Slide on a clamshell followed by a crimp. Squash the crimp and cover with the clamshell.
- Attach two 4mm jump rings to the clamshell and roll the clamshell loop closed using round nose pliers. (The reason we have added the jump rings to this end of the necklace is to make the bar of the toggle hang a little lower and look even when done up). Attach the bar to the bottom jump ring. Then it is time to thread on your beads!
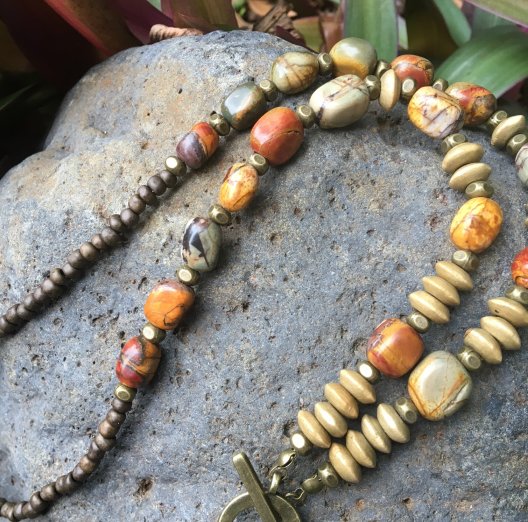
 This photo of the complete necklace shows the order of the beads:
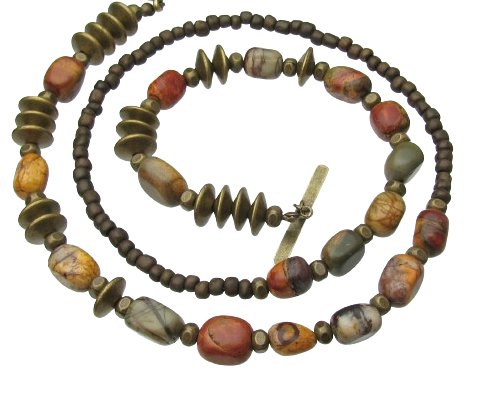
- Once you have threaded on all your beads, attach another clamshell and crimp. Attach your already-made toggle tassel to the clamshell (no jump rings this time). Annnnnnd you’re finished!
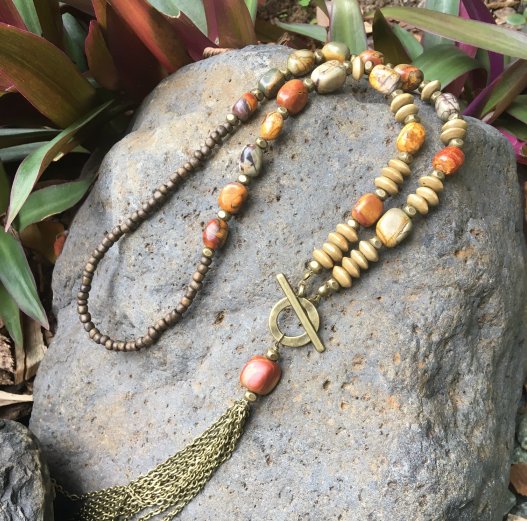
 And here’s the original version using the bronze saucers.