Why We Love This Tutorial:
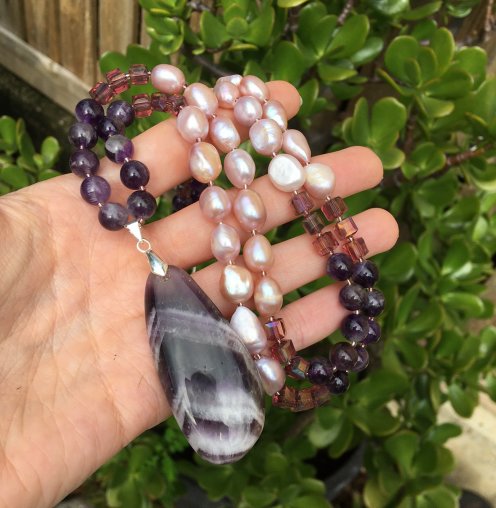
We really wanted to try knotting between each bead using Rondelle gemstones (as opposed to the usual round shape). I actually really love how it turned out – we’ll definitely be doing a few more knotted designs using rondelles in the future! We have used some of our new 0.65mm knotting cord (I am obsessed with this cord – it is waxed so it won’t fray and holds the knot super well), but you could also use silk or cotton cord.
Beads and Materials You’ll Need:
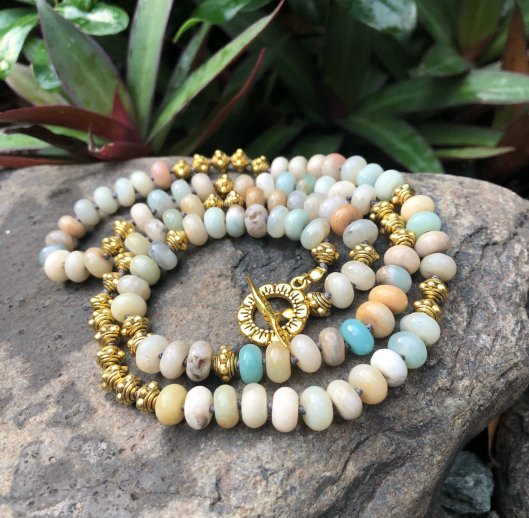
- 5x8mm Gemstone Rondelle Beads (we have used Amazonite Beads).
- Metal Beads of approx. 6mm (we have used these gold toned bump spacer beads. Our metal beads vary often so you may have to choose a slightly different style).
- 0.65mm Polyester Micro Macrame Cord (we have used grey cord)
- Clamshells
- Toggle Clasp of your choice (we have used these gold toned toggles. Once again our toggles vary often so please choose a different style if these are no longer available!)
Tools You’ll Need:
- Round Nose Pliers
- Flat Nose Pliers
- Scissors
- Sewing Needle
Method:
-
- Start by cutting approx. 2 metres of 0.65mm cord. Attach a clamshell to one end (tie a knot inside the clamshell, and close the clamshell around the knot).
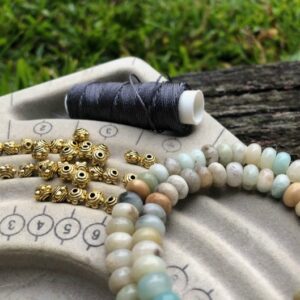
- Add a 5x8mm rondelle bead to the cord, and tie a knot after the bead. I have used the technique of tying a knot around a large-ish sewing needle, pulling the needle close to the bead (as close as possible), then pulling out the needle. You may also like to use round nose pliers to push the knot as close to the bead as possible after pulling out the needle.
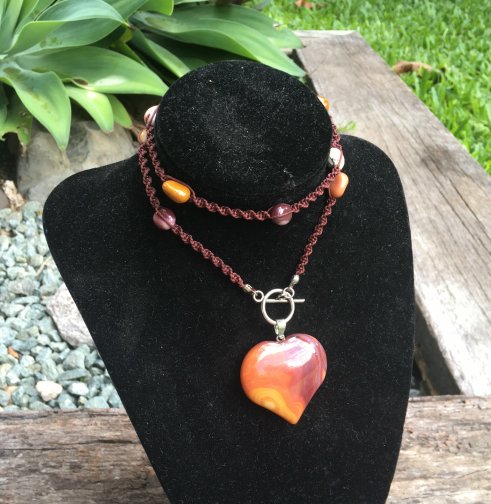
- For this design, we have not followed a particular pattern with the grouping of the beads. It is actually quite random – some sections have up to 11 rondelles, while some sections have as few as 3 rondelles. Likewise with the gold beads, one section has as many as 9 beads, while we have used some single gold beads between sections of rondelles. Take a look at the photo for inspiration, but go with the flow 🙂
- Once you have reached your desired length, attach another clamshell to the end of the necklace.
- We have designed this necklace to have a front closing toggle. But you can definitely wear it the other way around if you like! The clamshells we used have the loops that can attach directly onto the toggle, which is what we have done. Some other styles of clamshell with closed loops may require you to use a small jump ring between the clamshell and the clasp.
- And that’s it!