Why we love this tutorial:
This was a technique we first discovered many years ago, and in fact we’ve already done a tutorial using it. We said in that tutorial that we were keen to make more bracelets in different gemstones. Well, it’s taken 4 years but here it is! We’ve re-used the step-by-step photos from our last tutorial, as the technique is identical.
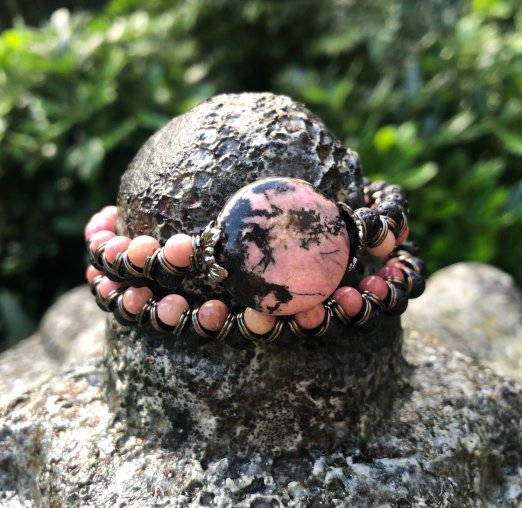
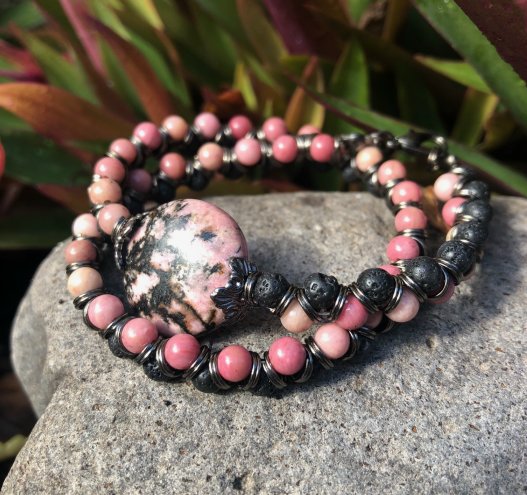
We’ve used some of our new range of pink/grey/black gemstones (this bracelet uses beautiful natural Rhodonite and Lava-rock gemstones in a 4mm round). We’ve made it with a center feature bead (plus caps), however this is totally optional. In fact, if you want to make a super long multi-layer bracelet I’d probably leave out the feature bead and just stick with the 4mm beads (you could perhaps mix it up a bit and use other 4mm beads as well!). This design is very simply and easy to make – a lot less fuss than other styles of wrap bracelets!
Beads and Materials You’ll Need:
- approx. 100* 4mm round gemstone beads (we’ve used 50x Rhodonite and 50x Lava round beads). *Note: This bracelet was made to wrap around my wrist twice and used 100 beads. However, everyone’s wrist is a different size and/or you may wish to wrap around more times. So the number of beads you require will definitely vary!
- Feature gemstone bead (we’ve used a large rhodonite disc bead. If you live in Brissy, we have a lot of loose gemstones available in store if you’d like to come in a select a single bead. Otherwise, if ordering online you’ll have quite a few extra beads on the strand to use in other projects! Alternatively, you could easily swap this bead for any other feature bead that blends in with the colours).
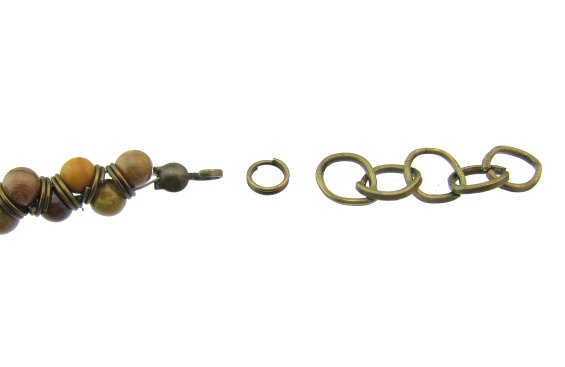
- approx. 100x 5mm split rings (we’ve used these black toned split rings. One ring for each bead, so see note on bead quantities above!).
- 2x 8mm to 11mm bead caps. We used these black toned caps, but any bead cap that is smaller than the feature bead will work. Or, you can leave the caps out.
- Tigertail
- 2x Clamshells
- 2x crimps
- 2x jump rings
- lobster clasp
Tools You’ll Need:
- Flat Nose Pliers
- Scissors
- Round Nose Pliers
Method:
Step 1. Take two pieces of tigertail about 50cm long each (or longer if making more wraps). Attach a clamshell (with flattened crimp inside) to the end of the two wires combined. 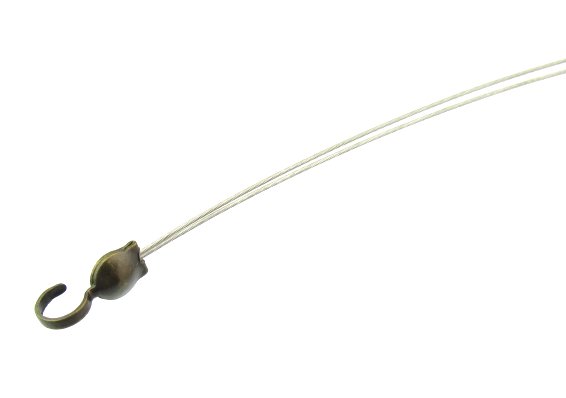
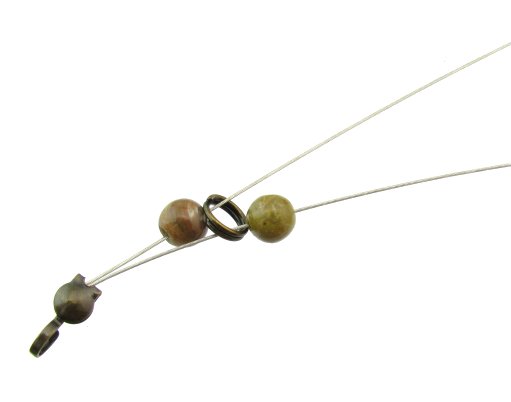
Step 2. Slide a 4mm bead onto one of the strands of tigertail.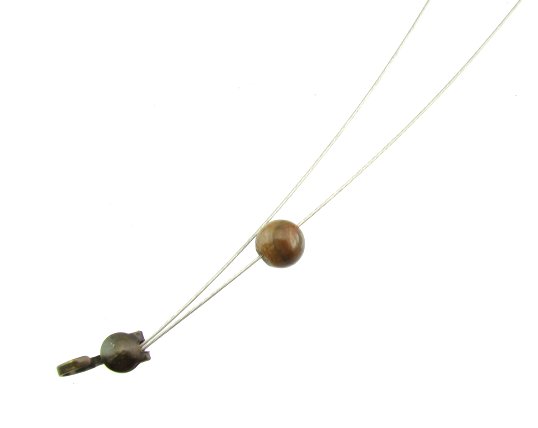
Step 3. Slide a split ring over both strands of tigertail.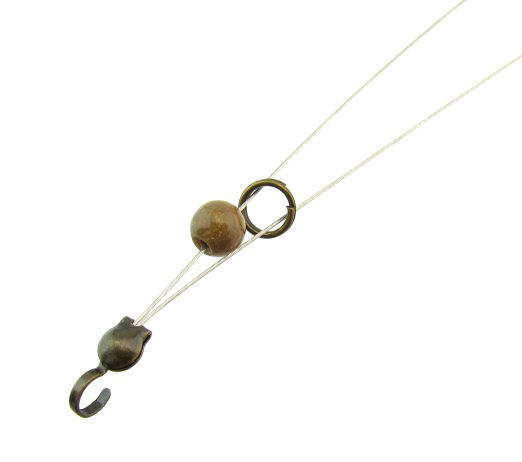
Step 4. Slide a bead onto the opposite strand from the first bead. Note: In our updated Rhodonite & Lava bead tutorial we have alternated using Rhodonite on one strand of tigertail, and Lava on the other strand.
Step 5. Then slide another jump ring over both strands. 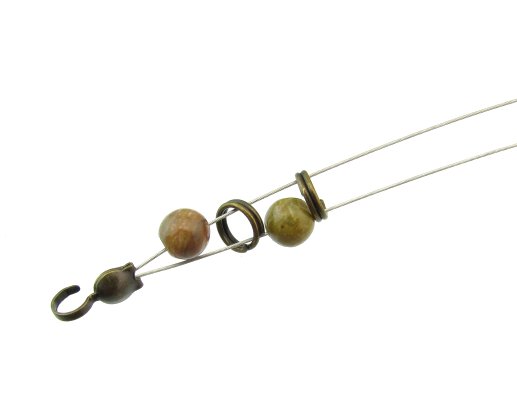
Step 6. Continue with this pattern, pushing the beads down as you go.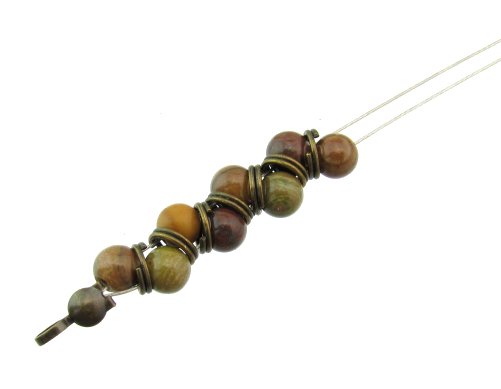
Step 7. Because this is a two layer wrap bracelet, you will not be putting the feature right in the middle (if you were to do so, the clasp would end up being on the same side as your feature bead and sit on top of the wrist). So, to know when to add the feature bead you will need to do this: Measure the circumference of your wrist with a piece of string (if making a snug bracelet like this one). If you want your bracelet loose, measure how you would like the bracelet to sit. Then, halve that measurement. This is the length at which you will add your feature bead. In this bracelet it was about 7.5cm. 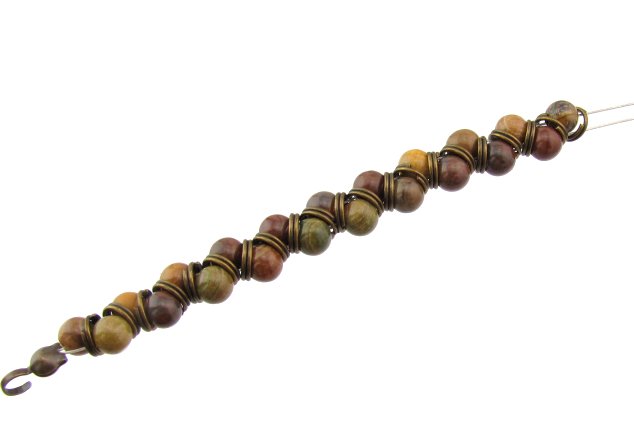
Step 8. It’s time to add the feature bead. Put a split ring after the last 4mm bead, then a bead cap, then the 12mm bead and another cap and split ring. 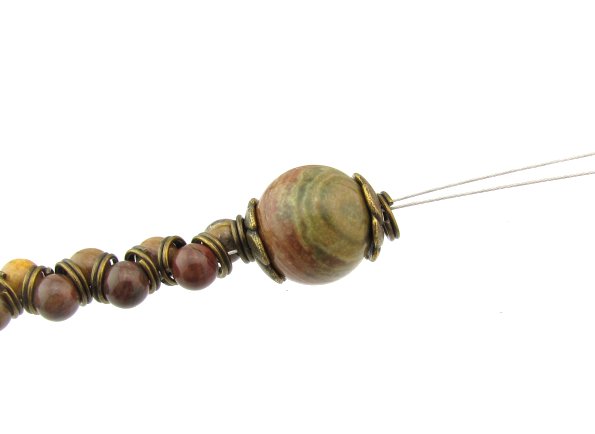
Step 9. Now add the rest of your 4mm beads and split rings as before. This section will be considerable longer than the first section – don’t be alarmed!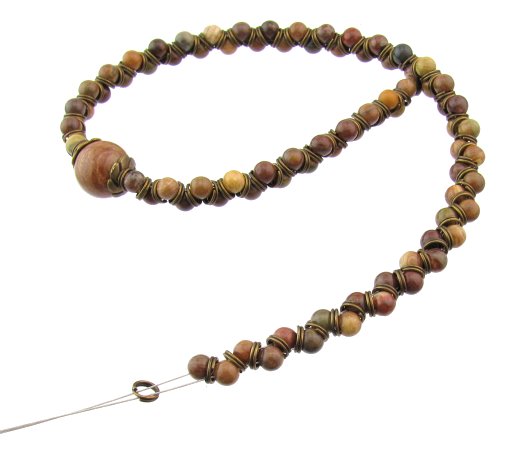
Step 10. After adding a final split ring, attach a clamshell (with crimp inside). Trim off the excess tigertail.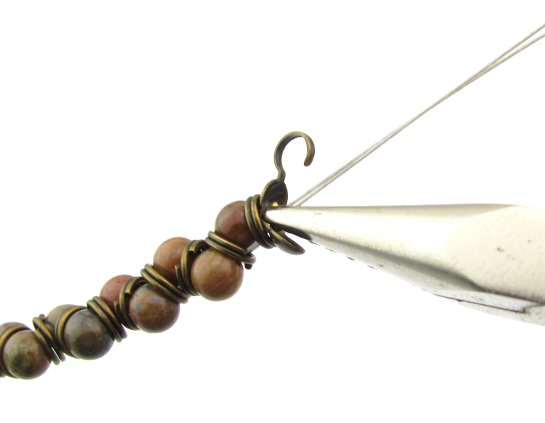
Step 11. Attach a lobster clasp to the clamshell. Note: In this updated Rhodonite and Lava tutorial, we have used a 4mm jump ring to attach our lobster clasp to the clamshell. This is because our black clamshells have a closed loop on the end as opposed to an open loop!). Or you may like to use a different style of clasp – a magnetic clasp would make this bracelet a whole lot easier to do up!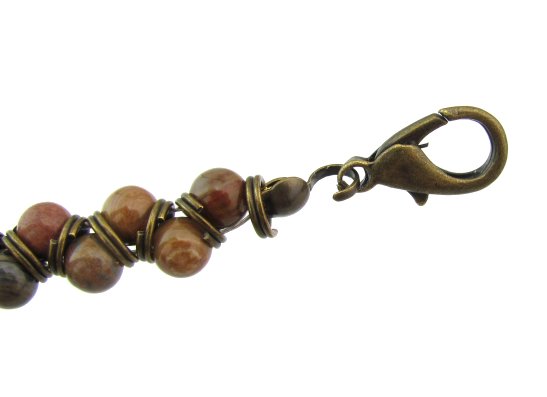
Step 12. On the other end, attach a split ring for the lobster to hook into. You may also like to add a small section of chain to make the bracelet adjustable. Note: we have also used a 4mm jump ring to attach the split ring to the clamshell in this updated tutorial.
Step 13. And this is the finished wrap bracelet…