Why We Love This Tutorial:
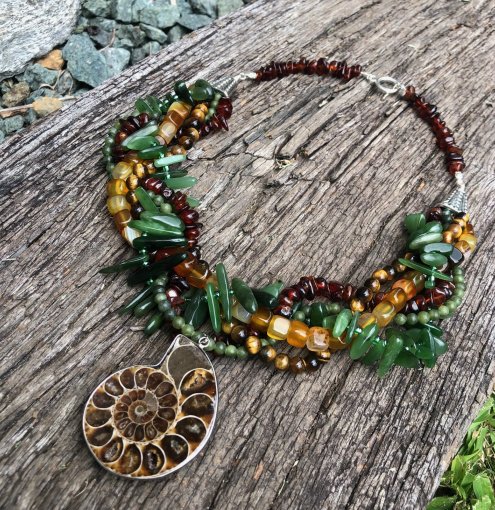
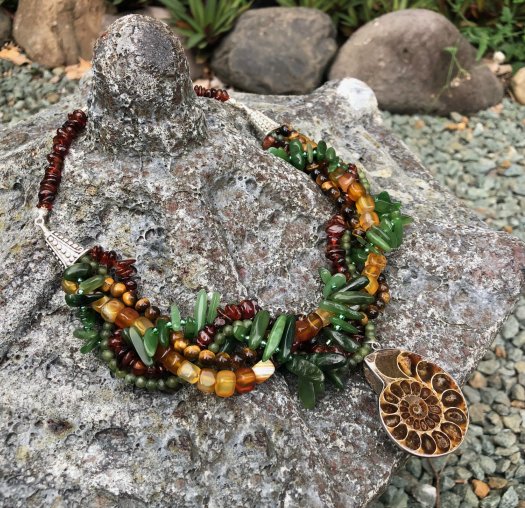
We love a big, chunky statement necklace! And who can go past these gorgeous Autumn themed gemstones. We’ve used some of our newly arrived in gemstone beads beads for this necklace – Green Jade, Tiger Eye, Orange Garnet, Yellow Agate… plus one of the amazing large Ammonite fossil pendants. But just like almost all of our projects, you could swap these colours out for almost anything! Even the bead size doesn’t matter too much in this case, just use a bit of trial-and-error to make sure the braid sits nicely and you’re good to go!
Beads and Materials You’ll Need:
- Orange Garnet Chips (1 strand)
- Green Jade 4mm round beads (1 strand)
- Nephrite Jade Top-drilled Nuggets (1 strand)
- Tiger Eye 6mm Round Beads (1 strand)
- Yellow Agate Cube Nuggets (1 strand)
- Ammonite Pendant
- Clasp of your choice (we’ve used a toggle)
- 2x large bead caps
- 6x Crimps
- 6x side closing clamshells
- 4x clamshells
- 2x 4mm round silver metal spacer beads
- Tiger Tail (we used 0.45mm)
- 20g wire
Tools You’ll Need:
- Flat Nose pliers (for crimping)
- Scissors (for cutting tiger tail – never use pliers for this!)
- Round Nose Pliers
- Flush Cutters
Method:
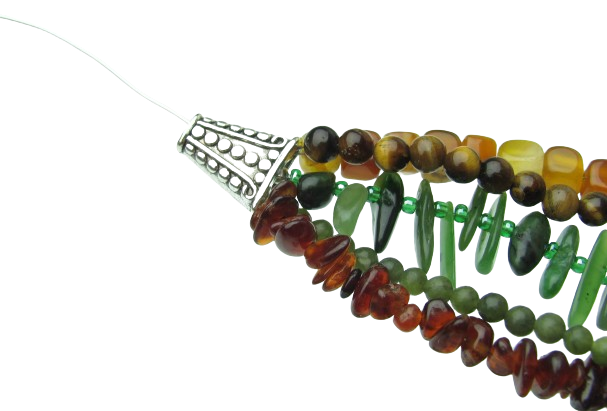
- Time to get stringing! This is a three section braid, so we have grouped the strands together as follows.
- Yellow Agate Cube nugget with Tiger Eye 6mm (take two pieces of tigertail and join them together at one end using a crimp and a clamshell. String on the tiger eye onto one strand, and the agate onto the other. Finish off by adding another clamshell and crimp. Make this section 28cm long.)
- Nephrite Jade Top-drilled Nuggets (take a piece of tigertail, add a crimp and a clamshell to one end. String on the beads, and finish with another clamshell and crimp. Make this section 34cm long).
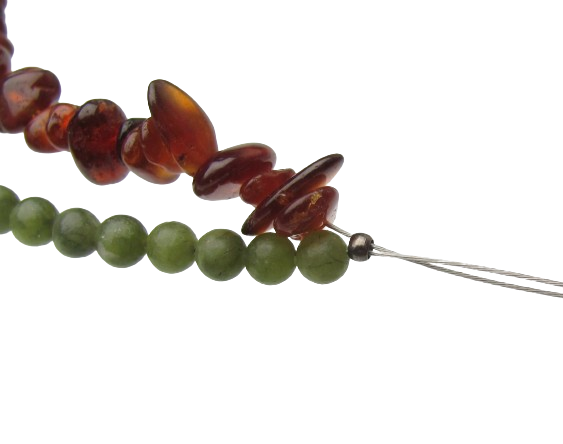
- 4mm Green Jade with Orange Garnet chips (take two pieces of tigertail and join them together at one end using a crimp and a clamshell. String on the orange garnet onto one strand, and the green jade 4mm rounds onto the other. We have also added the pendant to the middle of the 4mm jade strand. Finish off by adding another clamshell and crimp. Make this section 34cm long.)
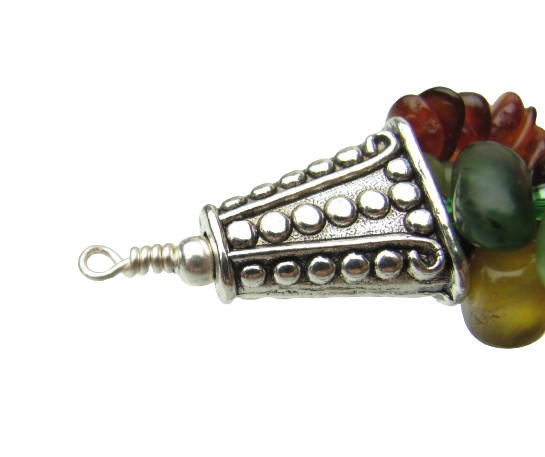
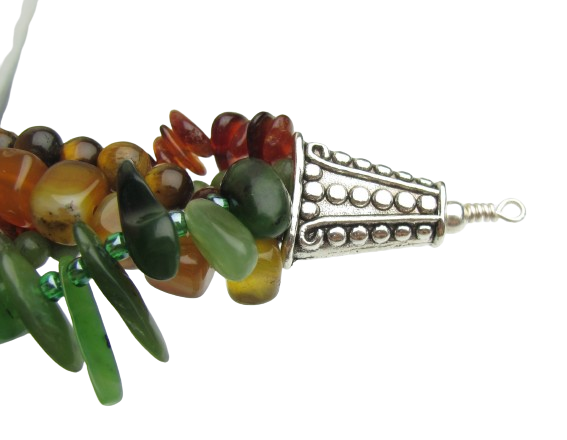
- Take a 10cm piece of 20g wire, and thread through the loops on all three clamshells. Make a wrapped loop to keep these securely together. This will be hidden by a large bead cap, so it’s don’t need to be super neat!
- Slide the large bead cap over the wire, and over the three lots of clamshells. Push the cap down as far as you can to completely hide the clamshells.
- Thread a 4mm silver metal spacer bead onto the wire, and make a wrapped loop to secure. This one is visible so try to be neat this time 😉
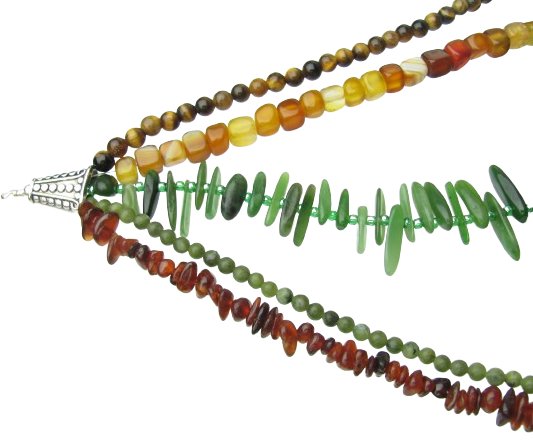
- This is how the necklace should look so far:
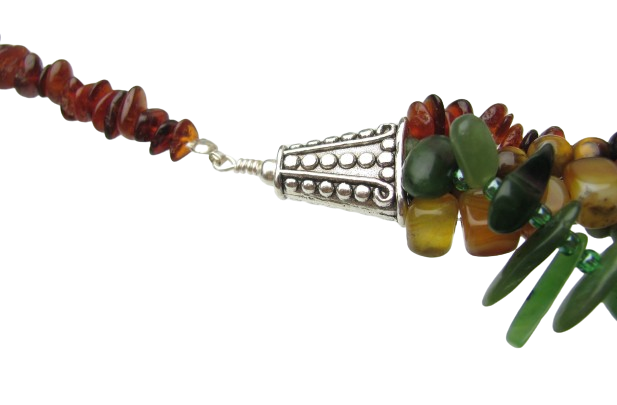
 With the ammonite pendant attached:
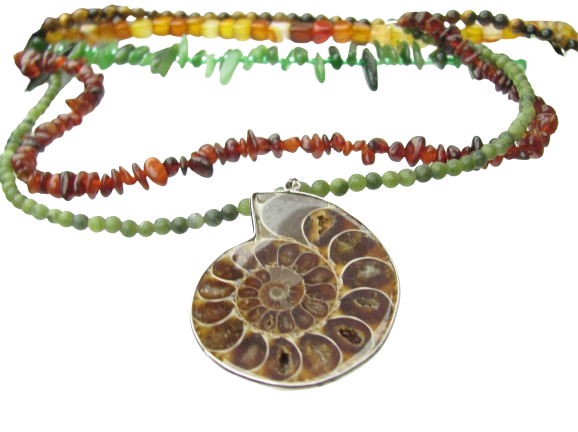
- Now it’s time to braid the three sections together. Once completed, it should look a little like this:

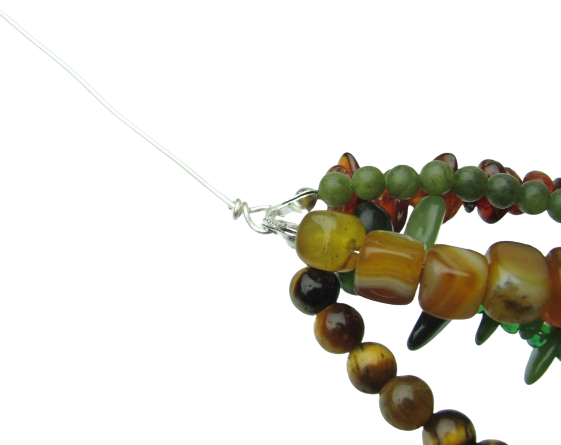
- Join the three sections together at the end in the same manner that you did before (with the wire, large caps, 4mm spacer and wrapped loops):
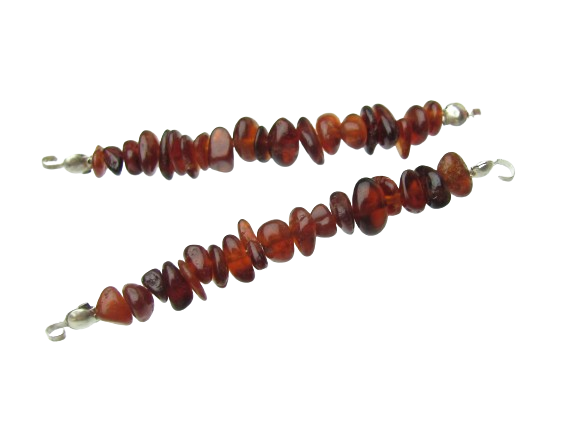
- Now we need to make the section of beads that goes up and around the neck. This necklace is a choker style, so we have made this section quite short. However you make like to make yours longer if you would like a longer necklace. Take a piece of tigertail about 10cm long, add a crimp and clamshell to one end. Thread on your chip beads, and finish with another crimp and clamshell (you will need to trim the excess tigertail with scissors before you add your second clamshell). Ours are 6cm long. Make two of these:
- Attach these sections to the main body of the necklace. Depending on the type of clamshells you use (we’ve used the open-looped style above), you make need to use a couple of jump rings to join these on (if you’ve used the closed-looped clamshells).
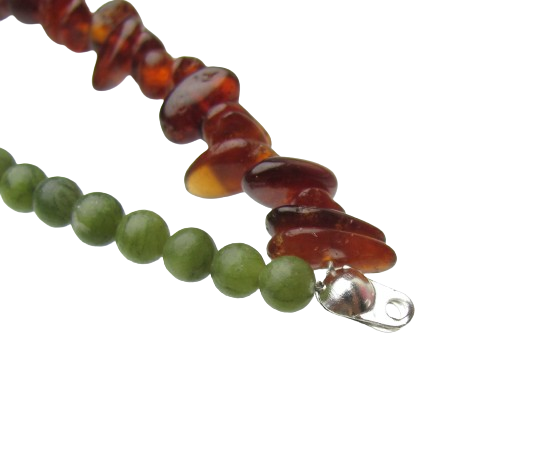
- Now, simply add the clasp of your choice to the end of the necklace.
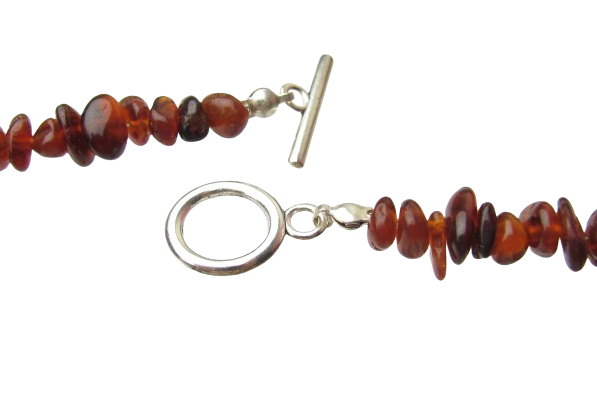
- And, you’re finished!