Why We Love This Tutorial:
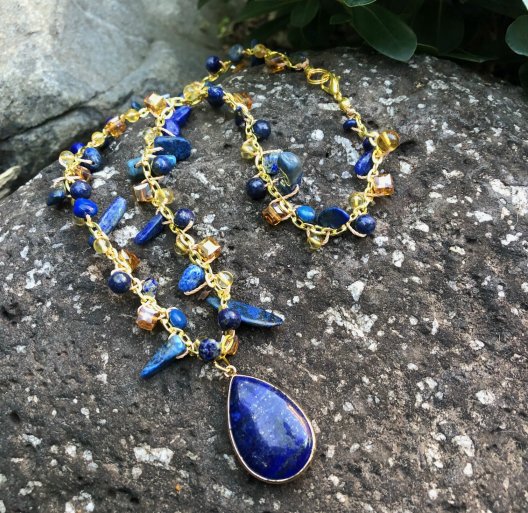
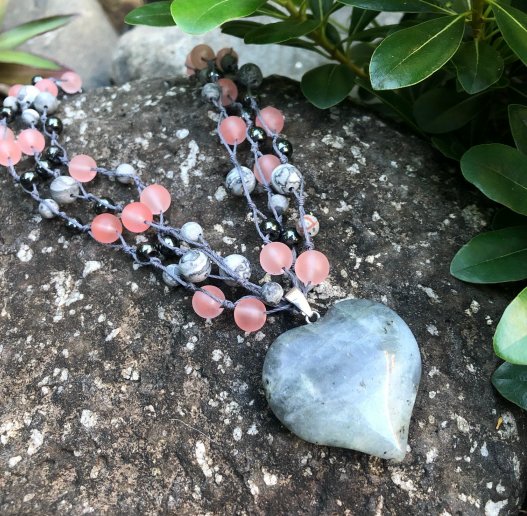
Edit: This is an updated 2023 version of a previous tutorial we made, using some of our gorgeous new matte gemstone beads! The steps are exactly the same as the older designs (except we have added a lovely Labradorite pendant to this one!), so the photos are simply copy and pasted from the older tutorial. This version is a slightly shorter design at 50cm long, so that the pendant sits in a higher position, Enjoy!
Beads and Materials You’ll Need:
- Note: we have only used one strand of each for this necklace, with leftovers at the end.
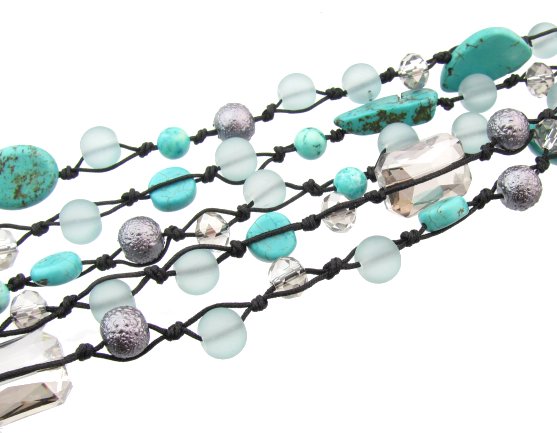
- 8mm Matte Scenery Jasper Beads
- 6mm Matte Scenery Jasper Beads
- 8mm Matte Cherry Quartz Beads
- 6mm Hematite Beads
- Labradorite Pendant (if the one we have used is no longer available, please choose from our large selection of other gemstone pendants!)
- 0.65mm Waxed Polyester Cord (we’ve used grey).
- Side closing clamshells x6 – we’ve used silver
- 6mm jump rings x2 – we’ve used nickel silver
- Clasp of your choice
- Extension Chain is optional (we have added a small piece of chain, plus a ballpin with a 6mm jasper bead).
Tools You’ll Need:
- Flat Nose pliers x2
- Scissors (for cutting tiger tail – never use pliers for this!)
- Lighter (optional)
Method:
Step 1. Make a bead soup of your chosen beads in a bowl.
Step 2. Cut two pieces of 0.65mm cord at approx. 1m each*, then tie them together at one end.
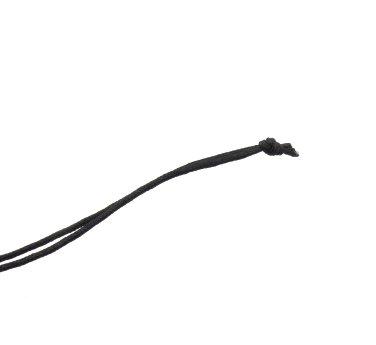
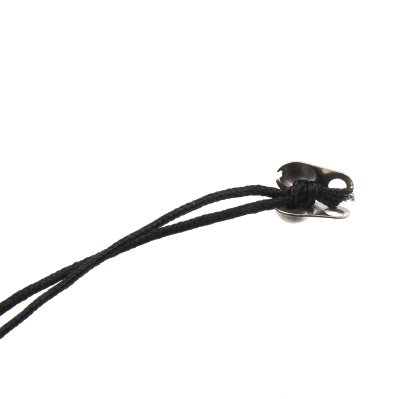
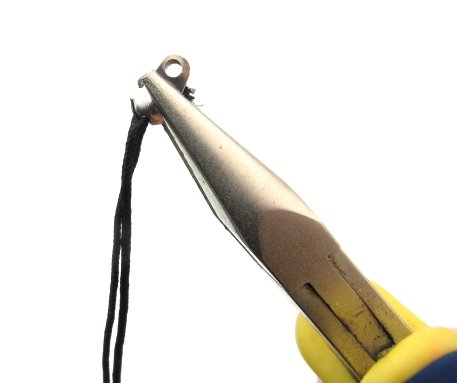
Step 3. Cover the knot with a side closing clamshell. Close the clamshell with flat nose pliers, making sure not to squash it too hard – we want it closed, not flattened. We have used the side-closing clamshells as two strand of polyester would struggle to fit through the tiny hole on a normal clamshell.
Step 4. Then, thread a bead onto one of the strands. You may like to use a lighter to slightly melt the ends of the cord so that the beads slide over more easily. It is not necessary, however may make your life a little easier!!
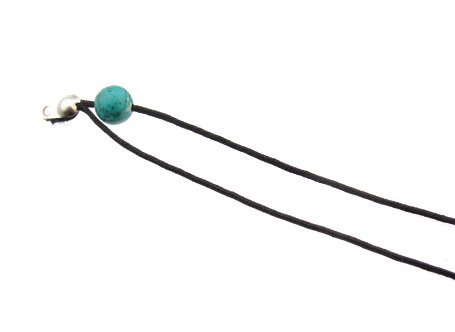
Step 5. Tie an overhand knot using both strands after the bead. (It doesn’t need to be super close to the bead, a little gap adds to the effect.)
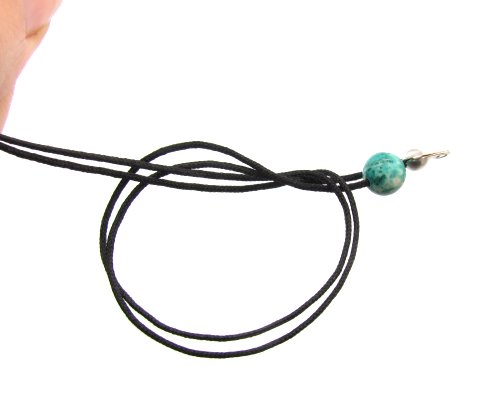

Step 4. Keep adding beads in this manner. It does not matter which strand you thread the bead onto. Try to add beads in a random manner, there is no pattern here!
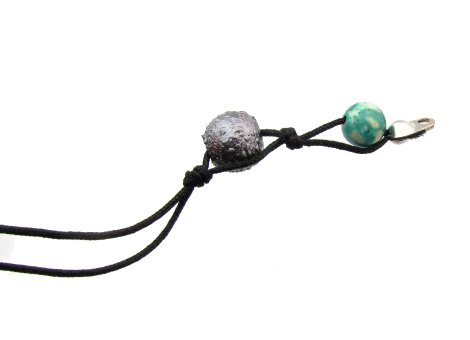
Step 5. Once you have reached your desired length, tie one last knot and cover it with a side-closing clamshell.
Step 6. Repeat this process to make multiple strands.
Step 7. After you have made three strands (or more!) use a jump ring to attach the clamshells together on each end. Then attach a clasp to this jump ring.
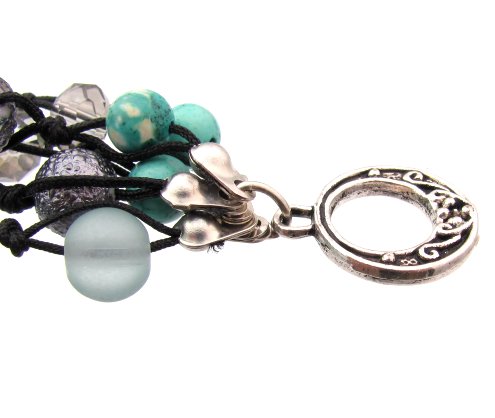
Updated Design with Pendant: In our updated design, we have simply added the Labradorite pendant onto all three strands of the necklace. The bail on the pendant can be opened up with pliers, fitted around the three strands, and closed up again.
And that’s it!
Here are a few photos of this updated design: