Why We Love This Tutorial:
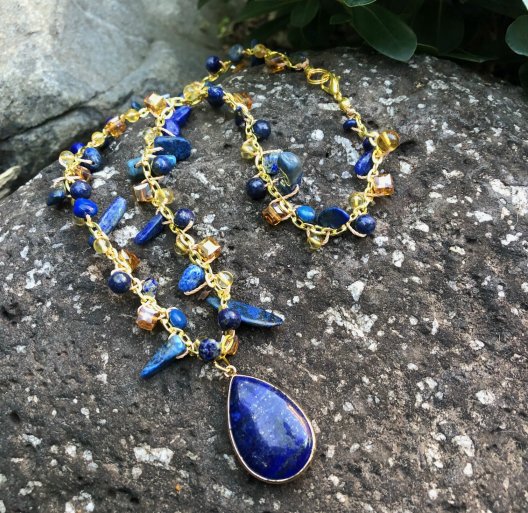
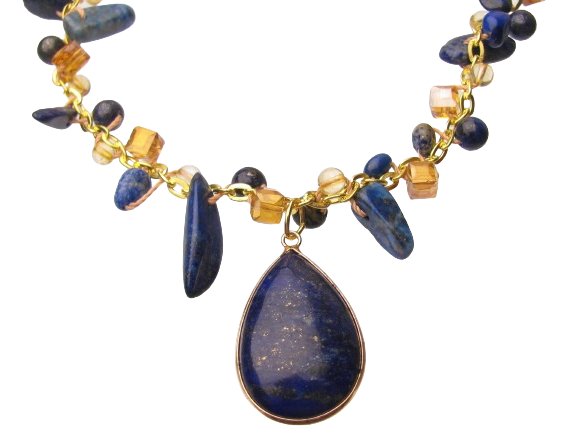
What a cool (but simple) little technique! This tutorial uses cord and chain to create a design that almost looks like crochet – and yet it’s super fast and easy to make. You can use any smallish beads (ours are mostly within 4mm to 6mm wide), so it’s once again bead soup time! We’ve threaded the beads on in an (almost) random fashion… it’s good to get a fairly balanced arrangement of colours though 🙂 We’ve used a mixture of Lapis Lazuli Beads, Citrine, Crystal Beads and Glass beads.
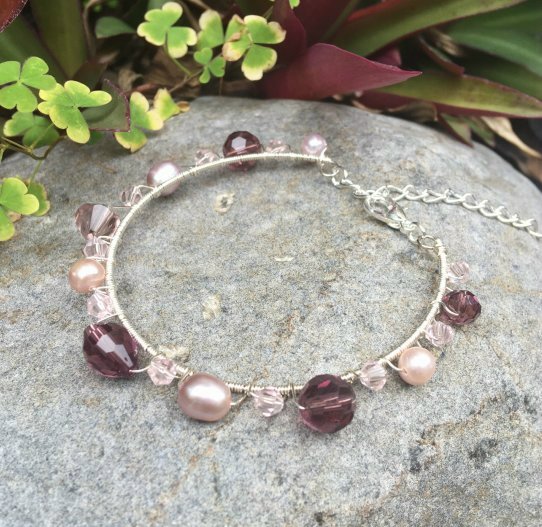
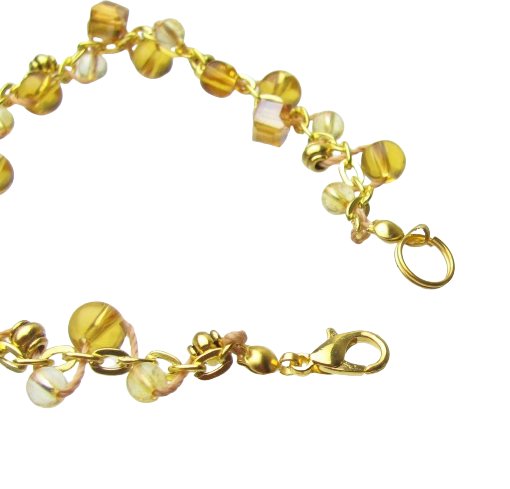
The tutorial below is using photos from when we made the bracelet version (which was entirely using the amber/yellow toned beads). But the technique is 100% the same. The only difference of course for the necklace was we added one of the new Lapis Lazuli Pendants. All the quantities and measurements below are for the necklace version. We’ll post a separate tutorial for the bracelet version with all the measurements that correspond to it; click here!
Beads and Materials You’ll Need:
- 72x Mixture of 4mm to 6mm wide beads, we’ve used:
- Gemstone Pendant (we’ve used a Lapis Lazuli Teardrop Pendant). Please note, our range of pendants changes constantly, so if this pendant is no longer available, please choose something else that will match in!
- Clamshells (we’ve used gold clamshells)
- 2x 8mm jump ring
- Clasp of your choice (we’ve used a gold lobster clasp)
- approx 1.25 metres 0.65mm polyester macrame cord (we’ve used camel)
- Cable Chain (the chain we have used is this 5mm gold toned cable chain, but you could use any cable chain – just use slightly less or more cord, and perhaps use smaller beads if using a finer chain).
Tools You’ll Need:
Method:
- Cut your chain to the desired length. Ours is 45cm. You will use approximately 2.5x the amount of cord than the chain, so for our 45cm chain we have used approx. 112cm. However! I’d definitely recommend always cutting off a little extra, so perhaps cut your cord to about 125cm.
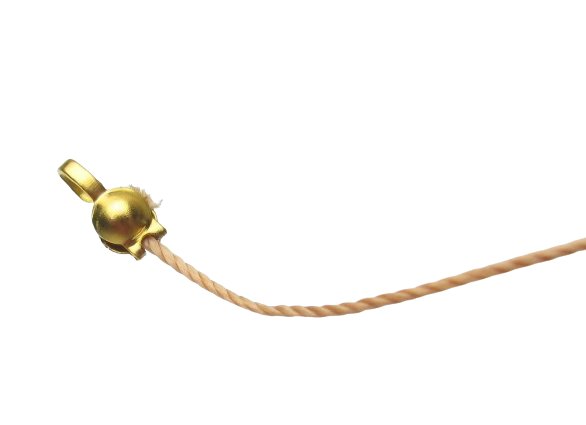
- Tie a knot in the end of your cord, and slide on a clamshell.
- Trim the cord close to the knot, and close the clamshell around the knot. If you like you can add a little glue inside the clamshell before closing it, to make it extra secure.
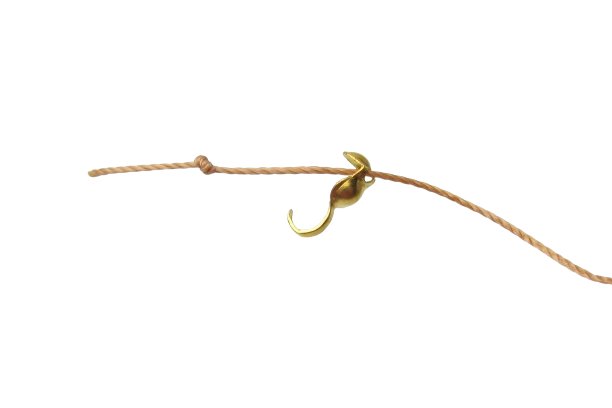
- Take your chain and thread the cord through the last loop on the chain. Then, tie a knot to secure the chain in place.
 Tighten the knot closed:
- Now it’s time to start adding beads. Thread a bead onto the cord. Then, thread that cord through the second link on the chain.
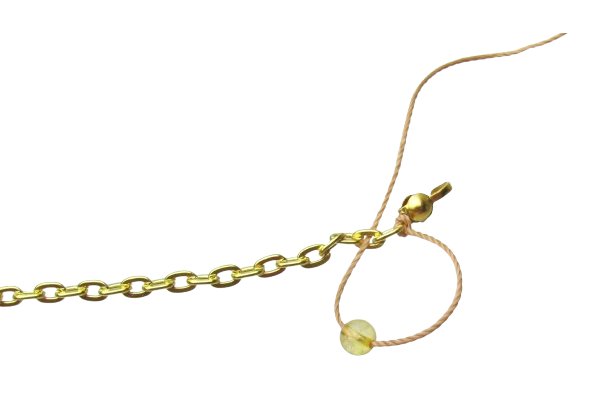
- Pull the cord tight, then add another bead. For each bead, you are skipping one link in the chain, weaving from one side to the other.
 Pull it tight and continue:
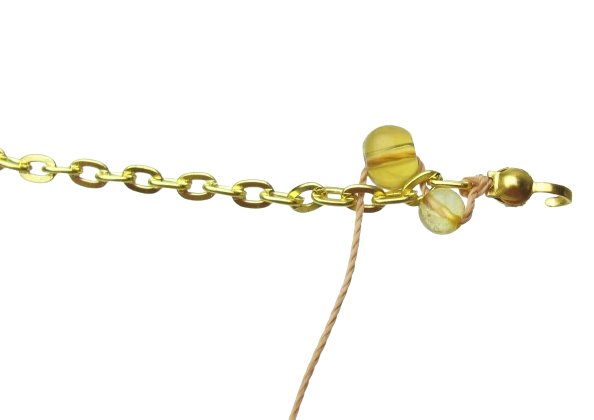
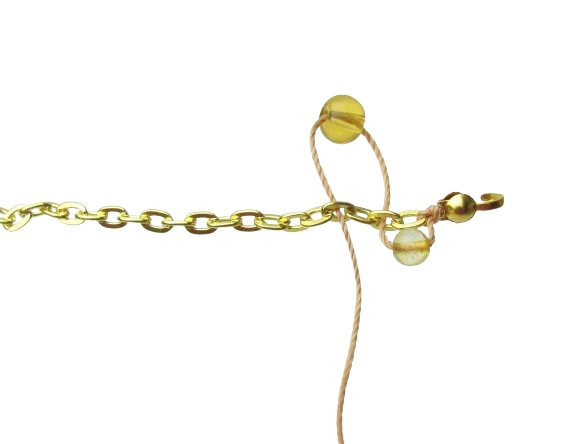
- Continue in this manner adding more beads.
 Add some more:
 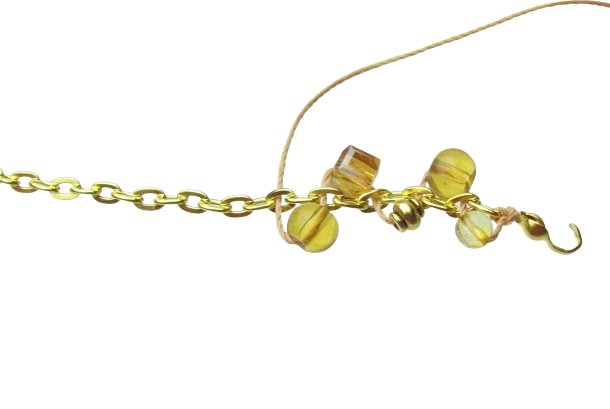 And even more:
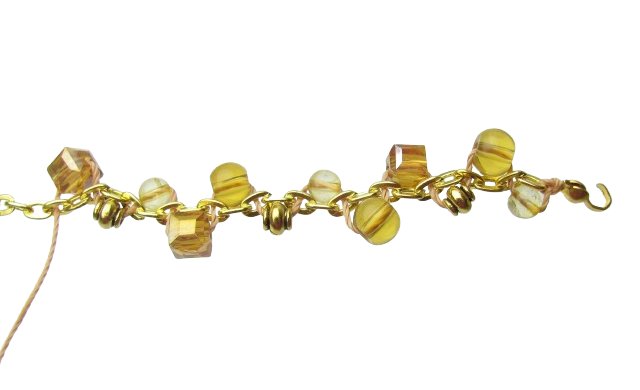
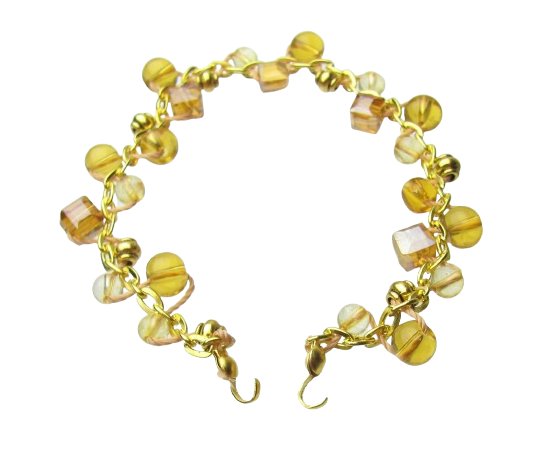
- Once you have reached the end of your chain, tie the cord to the last link (just as you did at the beginning). Then, slide on a clamshell. Tie a knot inside the clamshell and using round or needle nose pliers, push the knot as fare inside the clamshell as you can. Trim the excess cord and close the clamshell around the knot.
- Attach a lobster clasp to one clamshell, closing the loop on the clamshell around the loop on the clasp. If your clamshells are the type with a close loop, simply use a small jump ring to attach your clasp. Also add a 8mm jump ring (or split ring) on the other side for your lobster clasp to hook into.
- For the necklace version, we have also added a pendant. Simply use an 8mm jump ring to attach the pendant to the center point of your necklace.
- And you’re finished!