Why We Love This Tutorial:
We were inspired by the pretty green tones in this amazing Stalactite pendant, so we matched it with some green Nephrite Jade, Clear Quartz (the B grade variety which is a little cloudier) and some sparkly little green crystals.
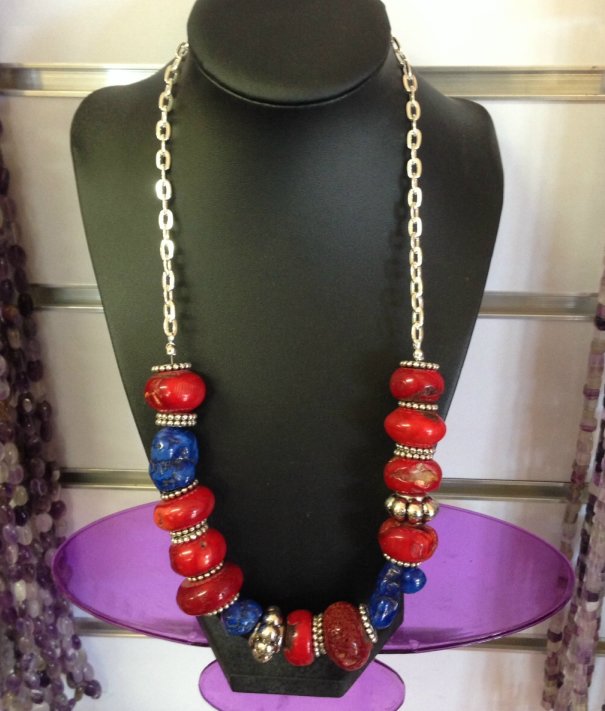
This necklace is a one strand version of this tutorial we made back in 2021. We love this technique as it is so easy and quick once you have the technique mastered. Just like in our previous tutorial, you can make as many strands as you like. In terms of what beads to use, the only rule is that the hole is big enough to accommodate the 0.8mm cord that we will be using. And that means most beads will work just fine – you may have some trouble with freshwater pearls (their hole is usually around 0.6mm). But most gemstones and glass beads should be fine. We’ve used a mixture of beautiful nephrite jade beads, clear quartz and mixed coloured rectangle crystals (these are so cute!) in this design. But have a scroll to the bottom to see the design we made for the class – it contained a mixture of carnelian gemstones, glass and crystal beads.
Beads and Materials You’ll Need:
- Note: we have only used one strand of each for this necklace, with leftovers at the end.
- Gemstone Pendant (we have used this stalactite pendant, but please note the amount of green in these varies! On the other hand, if you would like different colours please use your pendant as the inspiration for your bead choice!).
- 6mm Nephrite Jade round beads
- 8mm clear quartz round beads
- Mixed green rectangle crystal beads (if these are unavailable in the future, a mix of any green toned small (<8mm) crystals will work! They are just there to add some sparkle).
- Emerald green 0.8mm Nylon Cord approx. 20M
- Side closing clamshells
- Gold toned lobster clasp with extension chain
- 4mm gold jump rings
- Gold toned star beads
Tools You’ll Need:
- Flat Nose pliers x2
- Scissors (for cutting tiger tail – never use pliers for this!)
- Lighter (optional to melt the ends slightly to make threading beads easier)
Method:
Step 1. Make a bead soup of your chosen beads in a bowl.
Step 2. Cut two pieces of 0.8mm cord at approx. 1.5m each*, then tie them together at one end.
*note: The amount of cord you use will vary depending on how long you want your necklace. I tend to start each of the strands off at 1.5M and just cut to size. A little wastage but far less stress!


Step 4. Then, thread a bead onto one of the strands. You may like to use a lighter to slightly melt the ends of the cord so that the beads slide over more easily. It is not necessary, however may make your life a little easier!!

Step 5. Tie an overhand knot using both strands after the bead. (It doesn’t need to be super close to the bead, a little gap adds to the effect.)


Step 4. Keep adding beads in this manner. It does not matter which strand you thread the bead onto. Try to add beads in a random manner, there is no pattern here!

Step 5. Once you have reached half your desired length, slide on your pendant.
Step 6. Continue adding beads and knotting. Once you’ve reached the end, tie one last knot and cover it with a side-closing clamshell.
Step 7. Attach your lobster clasp and extension chain to the clamshells using 4mm jump rings.
And you’re done! Here’s some images of multi strand necklaces using this same technique (full tutorial, here).