Why We Love This Tutorial:
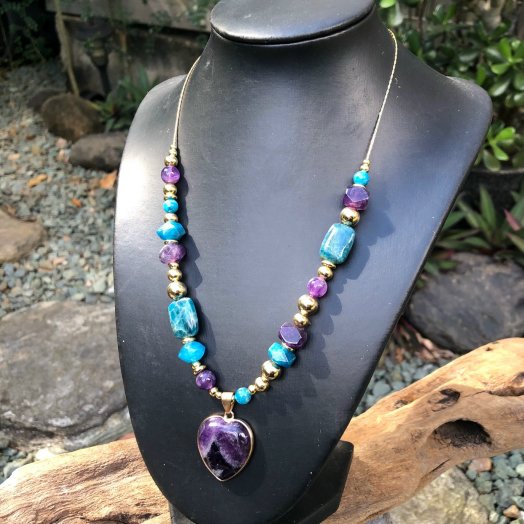
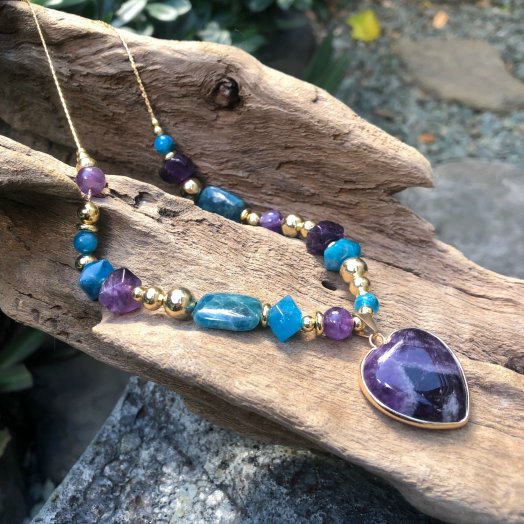
This necklace is so simply constructed – the fine chain we have used is thin enough for the beads to thread straight onto it. I love the random bead placement, but if you like a more symmetrical look you can put the same beads either side of the necklace. We’ve used some of our fancy new mini gemstone strands in this design, in beautiful natural Apatite and Amethyst. You can use any beads or colours you like – just make sure the hole is big enough (0.8mm or bigger) to be able to go over the chain.
Beads and Materials You’ll Need (product name is clickable):
- Mixture of different shaped gemstone beads (we’ve used Amethyst Nuggets, Apatite nuggets, Apatite Rectangles. Please note: our fancy mini strands are available in limited quantities. If the exact bead we have used is no longer available, something of a similar size will work just as well!)
- Mixture of gemstone round beads (we’ve used 8mm Amethyst and 6mm Apatite)
- Gemstone Pendant (we have used this Amethyst Heart Pendant)
- 18K gold plated chain necklace
- 4x 3mm Tarnish Resistant 18k Gold Plated Round Beads
- 7x 4mm Tarnish Resistant 18k Gold Plated Round Beads
- 7x 6mm Tarnish Resistant 18k Gold Plated Round Beads
- 4x 8mm Tarnish Resistant 18k Gold Plated Round Beads
- 7x 6mm Tarnish Resistant 18k Gold Plated Wheel Beads
- 2x Tarnish Resistant 18k Gold Plated Clamshells Beads
- 2x Tarnish Resistant 18k Gold Plated Crimp Beads
Tools You’ll Need:
Method:
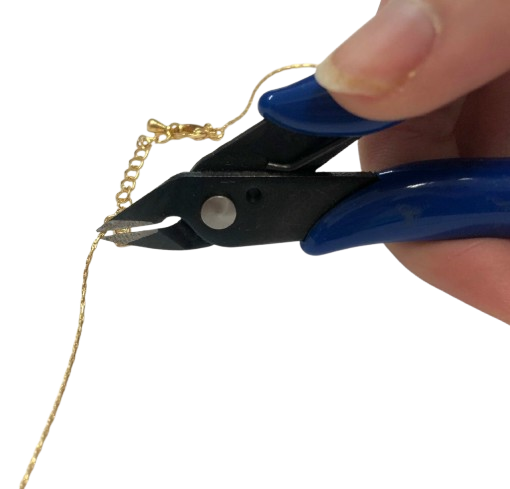
- We will be cutting off the existing soldered ends of our fine chain necklace, and replacing them with clamshells (this will give us access to the chain to thread the beads onto). Take one end of your necklace, and using flush cutters snip the end that connects to the soldered jump ring.

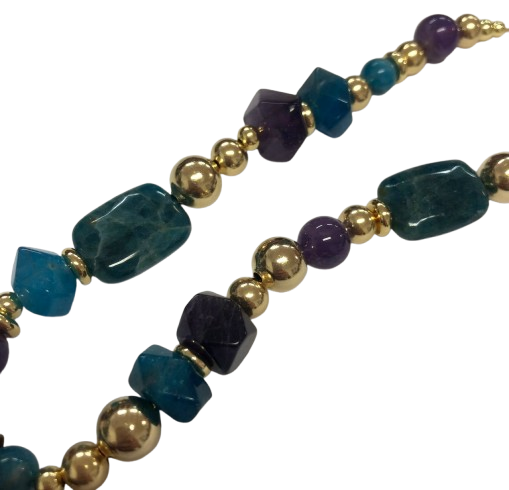
- Now it is simply a matter of threading on your beads. We have used quite a random pattern, using the beads as outlined above. We have used a series of 4mm – 3mm – 3mm – 4mm where the pendant hangs. And we have used a 4mm and 3mm to finish off on both sides. But apart from that, the pattern is random! If you like, refer to the finished necklace photo at the bottom of this page for the exact pattern we have used.

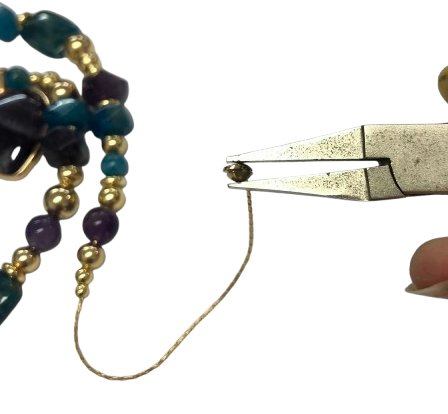
- After threading on your beads, it is time to finish the end with a clamshell. Take your clamshell, and thread it onto the end with the loop pointing outwards. Then, slide on a crimp.
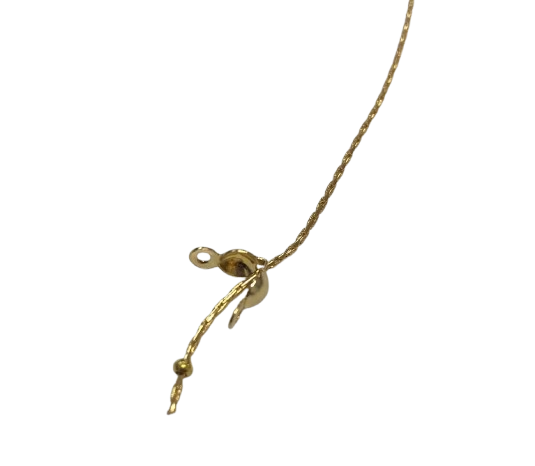

- Squash the crimp with your flat nose pliers very close to the end of the necklace (leaving about 1mm).


- Then, pull the clamshell up and over the crimp…
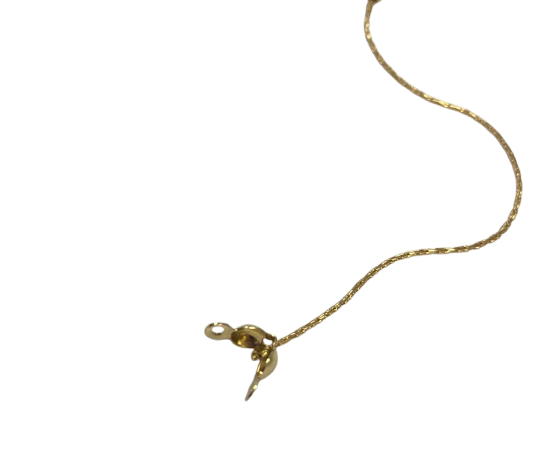
- …and gently close the clamshell around the crimp.

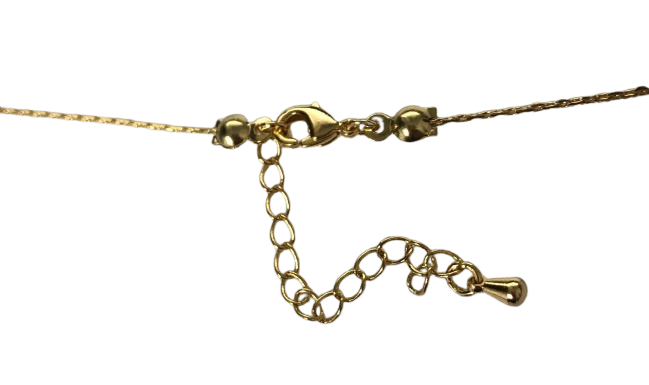
- The necklace originally came with a lobster clasp and extension chain, with two 4mm jump rings attached. Use the 4mm jump ring to attach to the clamshell.
- We have repeated the process with the clamshell on the other end of the necklace as well, even though it remained securely attached. We did this just so that it would match on both sides (but it is not strictly necessary!).

- And you’re done! Super quick and easy, and a little bit classy!